Welcome to the third post in my series on Microsoft Exam 70-778, where I aim to provide a detailed overview and description of the skills needed to tackle the exam successfully. We saw in the previous post how we could use the Power Query Editor to perform a multitude of different transformations against data sources; this will now be taken further, as we start to look at how to ensure optimal quality within our Power BI data models. The relevant skills for this area as follows:
Manage incomplete data; meet data quality requirements
To follow on as part of the examples below, make sure you have downloaded the WideWorldImporters sample database and hooked up Power BI Desktop to the tables described in my first post in this series. With all this done, it is crucial first to grapple a vital concept relating to the management of incomplete data, namely, the ability to…
Filter Data
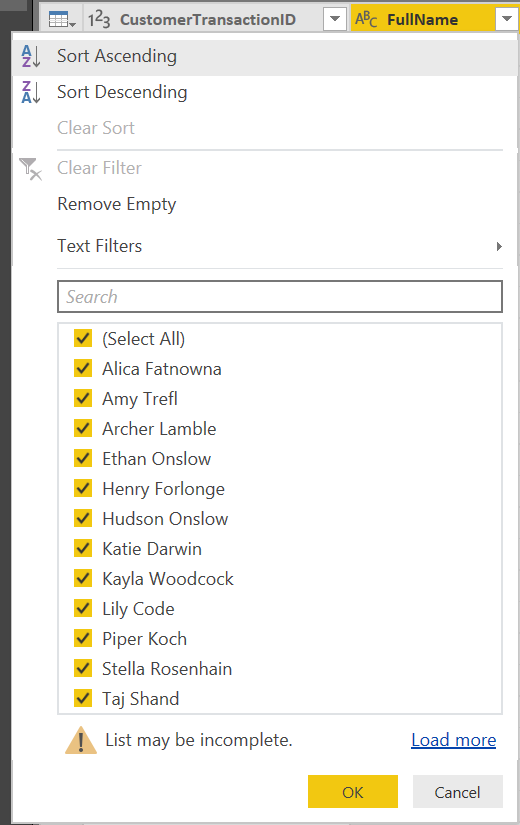
If you are consuming an entire SQL tables worth of data within the Power Query Editor, the size of your model can grow over time. In this scenario, it may be necessary to apply column-level filters to your data directly within Power Query, as opposed to merely dumping a cartload of irrelevant data in front of your users. Fortunately, the whole experience of filtering data should be a cakewalk, given its similarity with Microsoft Excel filters, as we can see below when attempting to filter the FullName field on the WideWorldImporters Sales.CustomerTransactions table:
This particular feature does have some differences compared with Excel, though:
- For large datasets, only a subset of all total, distinct record values are returned. This fact is indicated above via the List may be incomplete warning sign. Clicking the Load more option will do exactly that, but may take some time to process.
- The range of filters available will differ depending on the data type of the column. For example, String data types will have filters such as Begins With..****., Does Not Begin With…, whereas Dates are filterable based on Year, Quarter, Month etc.
- The Remove Empty option will do just that - remove any columns that have a blank or NULL value.
- As discussed on the Performing Data Transformations post, when you start combining filters with Parameters, it is possible to transform particularly unwieldy filtering solutions into more simplistic variants.
Column Errors
When it comes to adding custom columns as part of your Power Query transformations, there is always the potential for these to error, due to a misconfigured calculation or some other kind of unforeseen issue. When this occurs, the corresponding column value is flagged accordingly within the Power Query Editor and can be inspected further to determine the root cause of the issue. To demonstrate this, add on the following custom column using the following formula onto the Sales.CustomerTransactions table
[AmountExcludingTax] * [Error]
The value for each row in the new column should resemble the following:
When this issue occurs, it may be most prudent to first try and address the issue with your underlying calculation, ideally fixing it so that no error occurs at all. Where this is not possible, you can then look towards removing any rows that contain such a value. We will see how this can be done in the Adding/Removing Rows section later in this post.
Blank Data
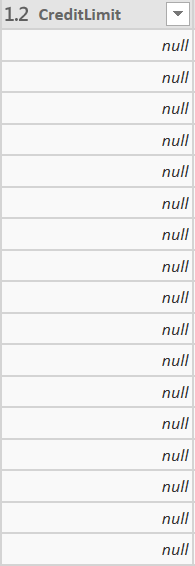
On the flip side of field value errors is blank data. In most cases, when working with SQL data sources, this will rear its head when there are NULL values in your database. For example, take a look at below at the CreditLimit field on the WideWorldImporters Sales.Customers table:
When these fields are fed through from Power Query and relied upon as part of DAX custom column/Measure creation, you may start to get some unintended consequences. For example, after filtering the same table above only to retain rows where the CreditLimit equals null, attempting to create a Measure that totals up all CreditLimit values results in the following when displayed as a Card visualisation:
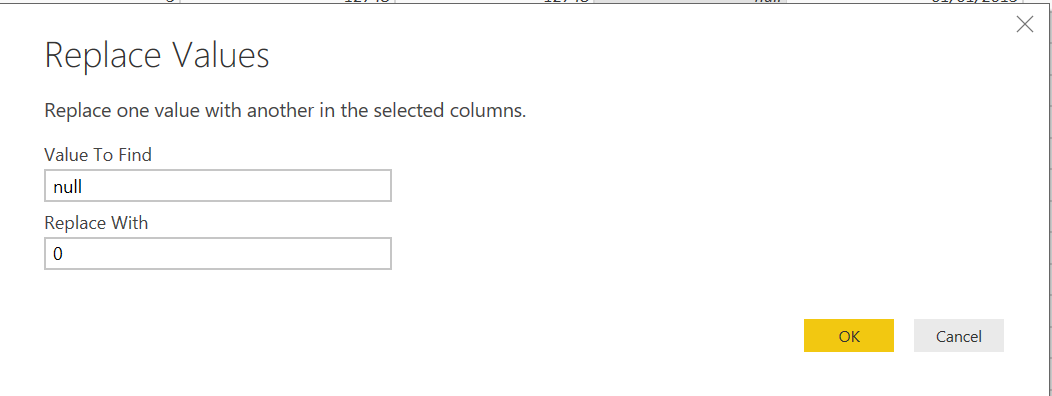
If you, therefore, have a desire to perform additional aggregations or custom calculations on fields that contain blank/null values, then you should take the appropriate steps to either a) remove all rows that contain one of these two values or b) perform a Replace action on the column to ensure a proper, default value appears instead. For the CreditLimit field, this can be as simple as replacing all null values with 0:
Adding/Removing Rows
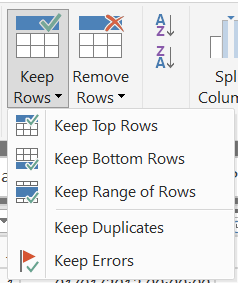
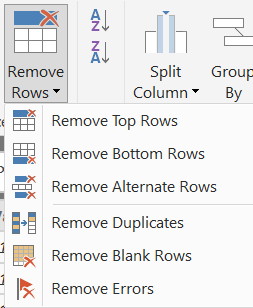
Often our data sources are not pristine clean from a data perspective - duplicate rows may be common, it could be that rows exist with completely blank or null values or your incoming data file could be a complete mess from a column header perspective. With this problem in mind, the Power Query Editor provides us with the functionality to keep or remove rows based on several different conditions:
The options granted here should be reasonably self-explanatory, but the list below contains some additional guidance if you need it:
- Keep/Remove Top Rows: Keeps or removes the top number of rows, in ascending order, based on the amount you specify.
- Keep/Remove Bottom Rows: Keeps or removes the bottom number of rows, in descending order, based on the number you specify.
- Keep Range of Rows: Keeps the number of rows specified based on the starting row number. For example, for a 50-row table, if a First row value of 1 and a Number of rows value of 10 is selected, then the first ten rows will be retained.
- Keep/Remove Duplicates: Based on the currently selected column(s), keeps or removes all rows with duplicate values.
- Keep/Remove Errors: Based on the currently selected column(s), keeps or removes all rows that have an Error value.
- Remove Blank Rows: Removes any row that has a blank or NULL value.
Formatting Column Data
Data from a live, production system, such as Dynamics 365 Customer Engagement, can sometimes be a complete mess from a readability perspective; incorrect casing and invalid characters are typically commonplace in this situation. Fortunately, there are a range of options at our disposal with the Power Query Editor, on the Transform tab:
Most of these are self-explanatory, with the exception of the Trim and Clean options:
- Trim removes any leading/trailing whitespace characters from a string value.
- Clean detects and removes any non-printable characters from a string value.
Although not technically a data cleansing options, there are some clear usage scenarios for the Add Prefix & Add Suffix options, such as creating unique reference code for each column value, based on the unique record number value (e.g. ABCD-1, ABCD-2 etc.).
Formatting options for other column types are not available from within Power Query. So if, for example, you wished to format all date values in the format YYYY-MM-DD, you would have to move outside of the Power Query Editor to achieve this. The steps involved to accomplish this will be a topic for a future post.
Example: Cleansing Data
Having reviewed each of the possible cleansing options at our disposal, let’s now take a look at an example of how to cleanse a troublesome dataset:
- Within the Power Query Editor, on the Home tab, select the New Source -> Blank Query option. This will create a new Query in the left-hand pane called Query1.
- Select Query1 and press F2 to allow you to rename it to CleanseExample.
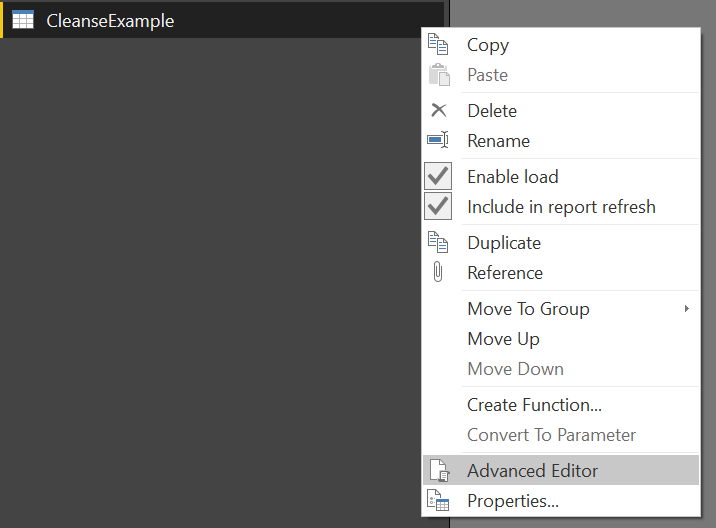
- Right-click the CleanseExample query and select the Advanced Editor option:
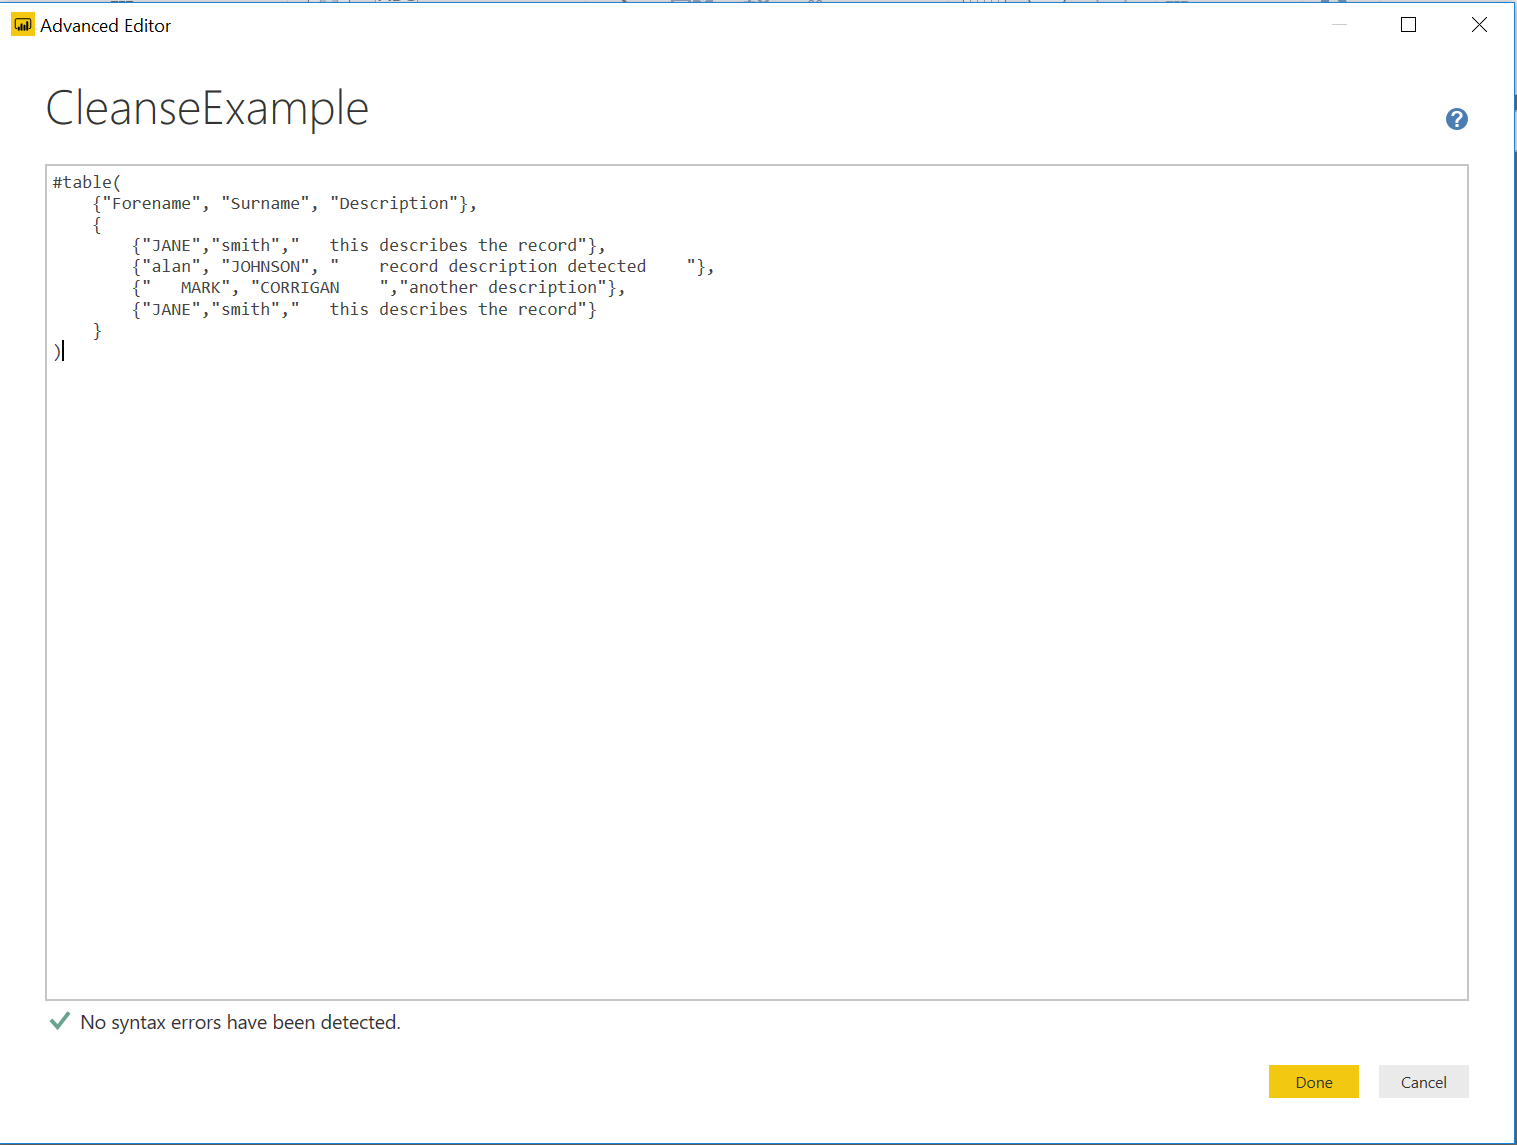
Within the Advanced Editor window, copy & paste the following code into the window:
  #table(
    {"Forename", "Surname", "Description"},
    {
      {"JANE","smith","   this describes the record"},
      {"alan", "JOHNSON", "    record description detected    "},
      {"   MARK", "CORRIGAN    ","another description"},
      {"JANE","smith","   this describes the record"}
    }
  )
It should resemble the below if done correctly:
- There are three key issues with this data that need resolving:
- The inconsistent word casing on the Forename/Surname.
- Whitespacing on the Description and ForeName fields.
- Duplicate records.
These issues are fixable by taking the following action:
- For the casing issue, CTRL + left click to select the Forename & Surname fields, go to the Transform tab and select Format -> Capitalize Each Word. Your data will then be modified to resemble the below:
- For the whitespace issue, select the Forename & Description fields and, on the Transform tab, select Format -> Trim:
- Finally, to remove the duplicate record for Jane Smith, highlight the Forename & Surname fields, navigate to the Home tab and select Remove Rows -> Remove Duplicates. This will then leave us with three records, as illustrated below:
- As a final (optional) step, we can also look to clean up the Description field values by applying the Capitalize Each Word formatting option:
Et voilà! We now have a tidy and clean table, ready for consumption within Power BI 🙂
Key Takeaways
- Data can be filtered directly within Power Query, using Excel-like functionality to assist you in only returning the most relevant data in your queries. The data type of each field plays a particularly important part of this, as only specific filter options will be at your disposal if, for example, you are working with numeric data.
- From a data quality perspective, you typically will need to handle column values that contain one of two possible value types:
- Errors: This will usually occur as a result of a calculated column field not working correctly. The best solution will always be to address any issues with your calculated column, such as by using a conditional statement to return a default value.
- Blanks/NULLs: A common symptom when working with SQL derived data sources, your real problems with blank values start to appear when you attempt to implement DAX custom columns/Measures outside of the Power Query Editor. It is, therefore, recommended that these are dealt with via a Replace action, depending on your fields data types. For example, a number field with blank/NULL values should be replaced with 0.
- The Remove Rows option(s) can act as a quick way of getting rid of any Error or Blank/NULL rows and can also be utilised further to remove duplicates or a range of rows. In most cases, you will have similar options available to you with Keep Rows instead.
- There are a variety of formatting options available to us when working with text/string data types. These range from fixing capitalisation issues in data, through to removing whitespace/non-printable character sets and even the ability to prepend/append a new value.
Data cleansing is a reasonably short subject area in the grander scheme of things, but the steps covered represent key stages towards building out a competent and trustworthy reporting solution. The next post in the series will discuss the options available to us in building out more complex and bespoke data models.

