
Welcome to my tenth post in a blog series aimed to provide a revision tool for Microsoft Exam 70-778, and for those looking to increase their expertise in Power BI. In last week’s post, we explored the possibilities developers have to leverage Power BI within their applications and how the Power BI API relates to all this. As we now get into the home stretch, this weeks post combines two exam areas into one. The first topic, all concerning how to Access on-premises data with Power BI, covers the following skills areas:
Connect to a data source by using a data gateway; publish reports to the Power BI service from Power BI Desktop; edit Power BI Service reports by using Power BI desktop.
Then, we’ll look at how to Configure a dashboard and do the following with them:
Add text and images; filter dashboards; dashboard settings; customize the URL and title; enable natural language queries
Power BI Gateway
A typical obstacle that can prevent an organisation from wholly adopting a cloud solution is the need to retain existing on-premise systems. A myriad of potential concerns may be involved here, such as regulatory or contractual arrangements. As a Software as a Service (SaaS) offering, Power BI is no different in this regard, thereby presenting potential obstacles for its adoption. The online element of the solution is designed to interact with data sources that are “in-cloud”, such as Azure SQL databases or Dynamics 365 Customer Engagement. If, for example, you need to access a data warehousing solution residing within an on-premise IBM DB2 instance, this is not necessarily something that can be “opened up” for access.
To address these concerns in a streamlined manner, Microsoft makes available the On-Premise Gateway application, which provides an easy to install and configure way of interacting with on-premise data sources. Built initially with Power BI in mind, the solution is now extended to support by the various services that make up the Power Platform, such as Microsoft Flow and PowerApps. The list of supported on-premise data sources is extensive, covering well-known systems such as:
- SQL Server
- Active Directory
- SharePoint
- MySQL
- IBM DB2
A general recommendation when installing the gateway is that the target machine should remain consistently online and have the proper access to all of your on-premise data sources.
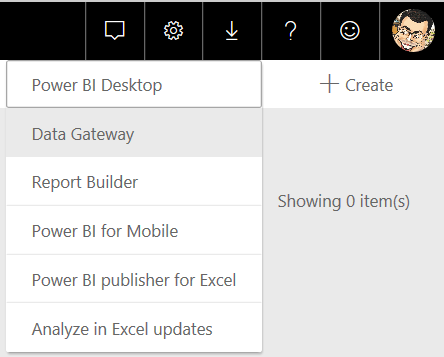
To get up and running with the on-premise gateway, you must first download and install the corresponding client from Power BI online, by clicking on the Download button in the top right area of the application (the icon that has a downward arrow and a line):
Clicking this will navigate you to the dedicated information page for the Gateway (which is accessible via a direct link too), where the very obviously placed button will let you download the application:

Once downloaded and installed, some additional configuration is then required:
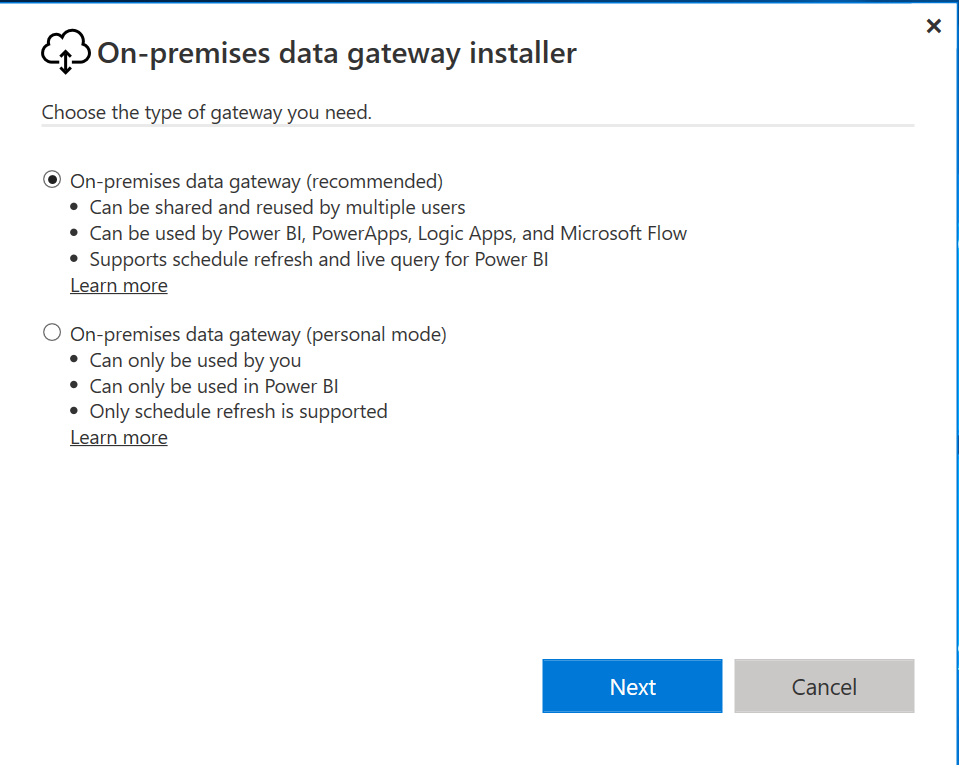
- You must specify the type of gateway to deploy - either one that uses the Recommended configuration or one configured for Personal Mode. Recommended will be the one that you generally need to go for, with Personal Mode only being useful for testing purposes or when developing on a local machine.
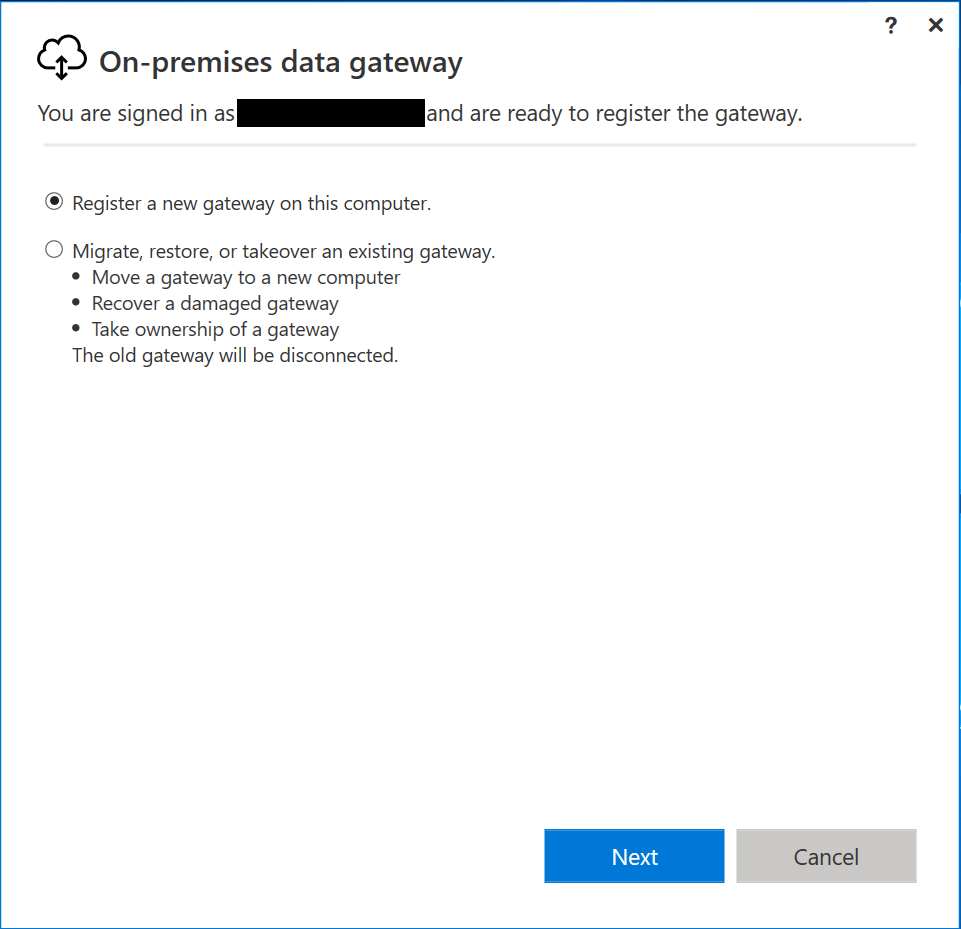
- You will need to sign into the Office 365 tenant that contains the Power BI Subscription for your new gateway, making sure that the account in question has sufficient privileges to register one. Once successfully signed in, you can then chose to deploy a new gateway or a replacement one:
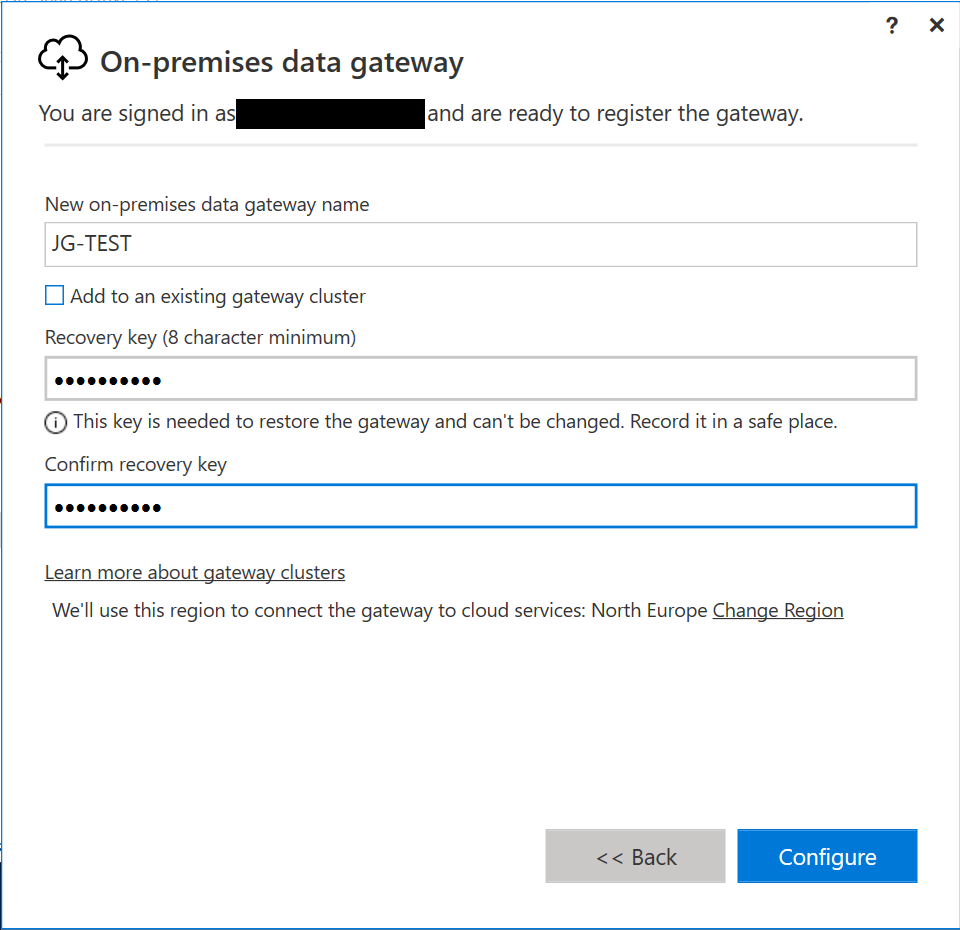
- Next, you will need to define a name for your gateway and also a recovery key. Make sure this is noted down, as you will require it if the gateway requires modification in future. The application should also determine the most appropriate Azure region to associate itself with, but this can be adjusted if needed. Keep in mind though that doing so may make it incompatible with certain services:
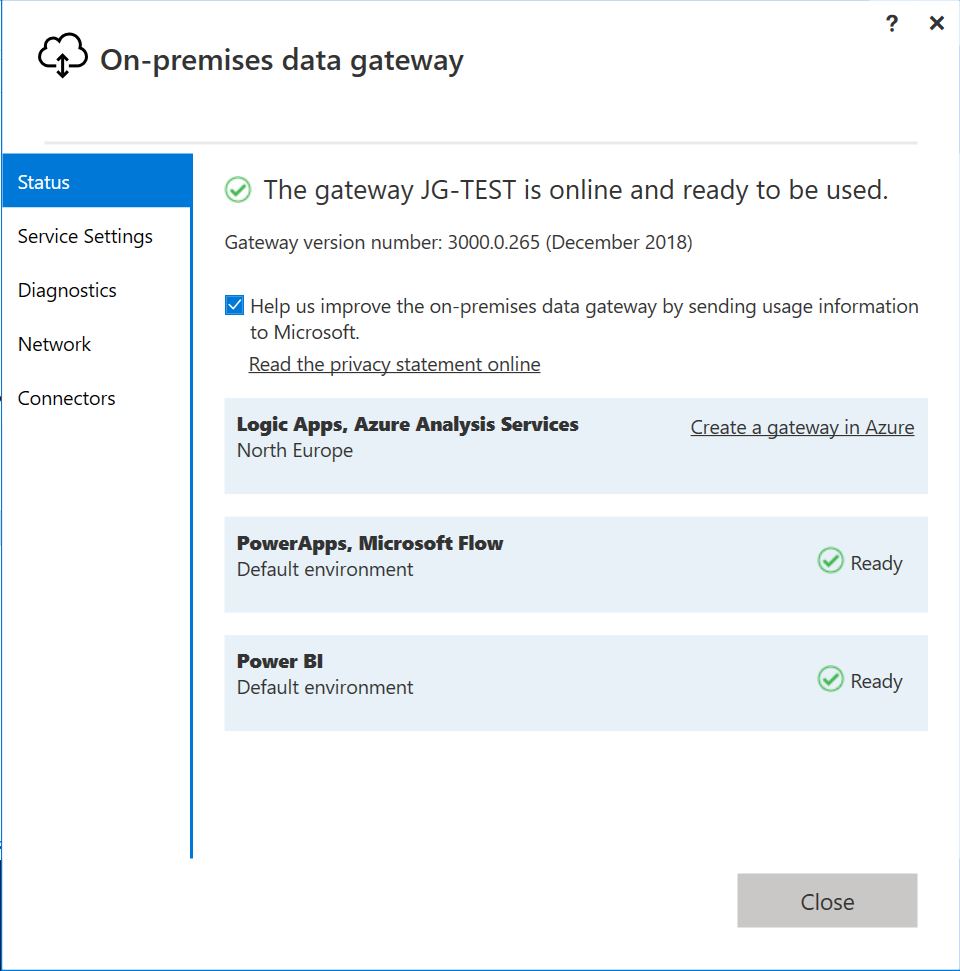
With everything configured correctly, you can then confirm the status of the gateway by navigating to the appropriate tab on the application:
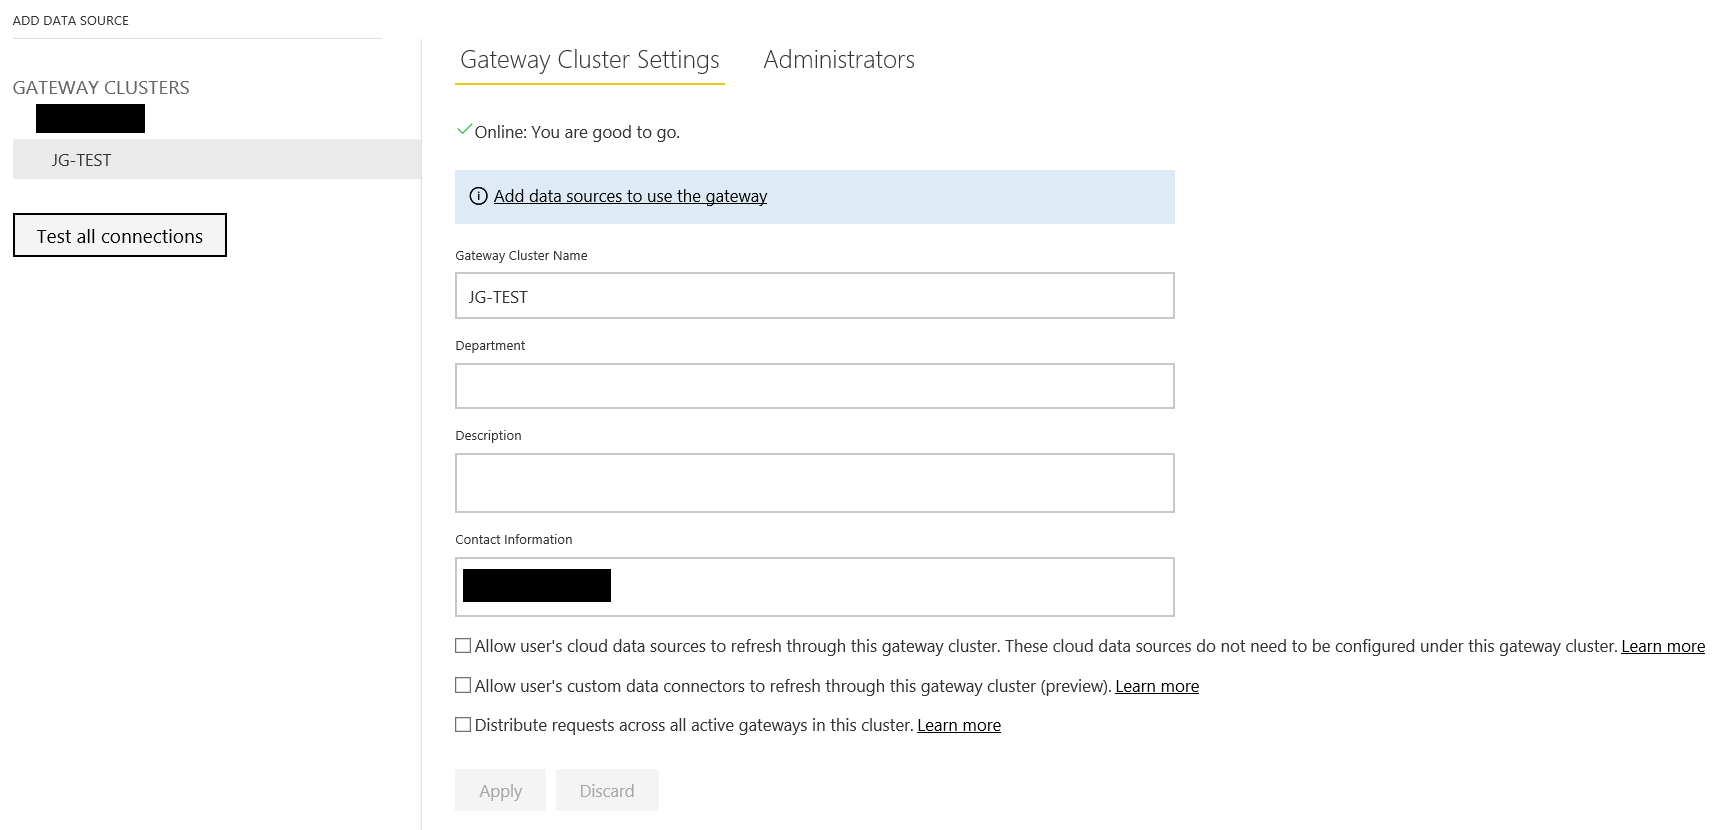
Its successful creation can then be verified by going into Power BI Online, where it should be visible in the Manage gateways settings area:
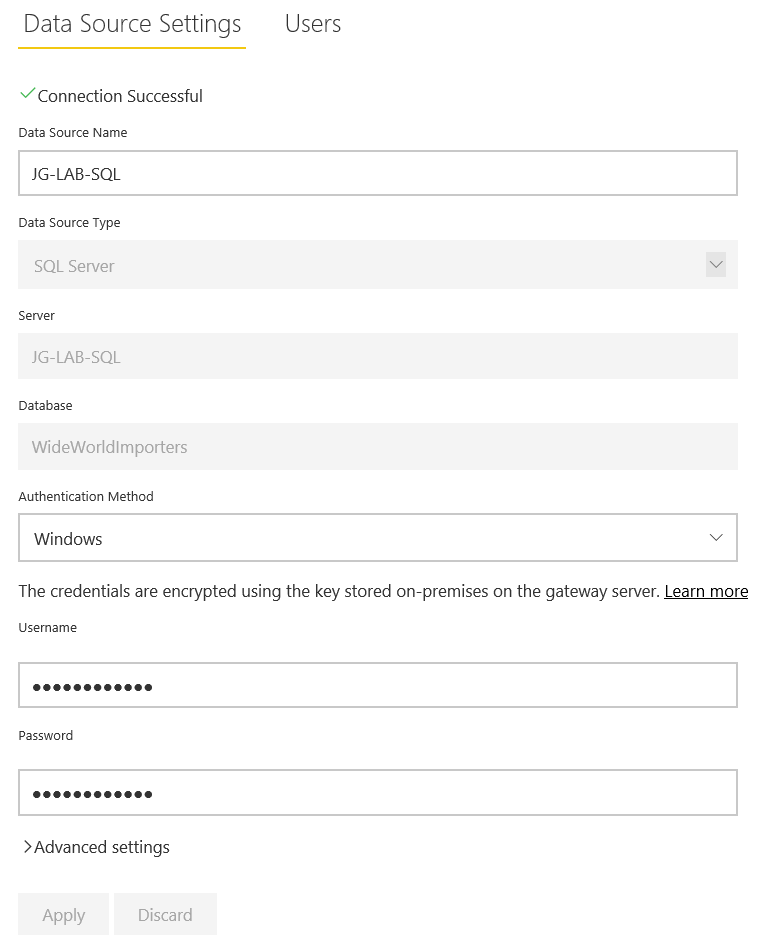
Once implemented, you can then press the ADD DATA SOURCE button to start adding your on-premise connections. The screenshot below shows an example of how to configure access to the WideWorldImporters sample database on an on-premise SQL Server instance:
The gateway is an essential tool to have within your arsenal if you are attempting to leverage the benefits of Power BI Online more quickly, but find yourself restrained by existing, on-premise data sources; once deployed, it straightforwardly allows you to have the best of both worlds.
Publishing Reports
Although it is perfectly acceptable for users to work and interact with their Reports from within the Power BI Desktop application, Reports that typically require more general consumption or utilisation by non-technical audiences will require deploying out to either a) Power BI Online or b) a Power BI Report Server instance. The steps involved in the second one are a little different (and require access to a separate Power BI Desktop application), but for the first route, it is merely just a case of clicking on the Publish icon on the main application ribbon once your Report is ready:

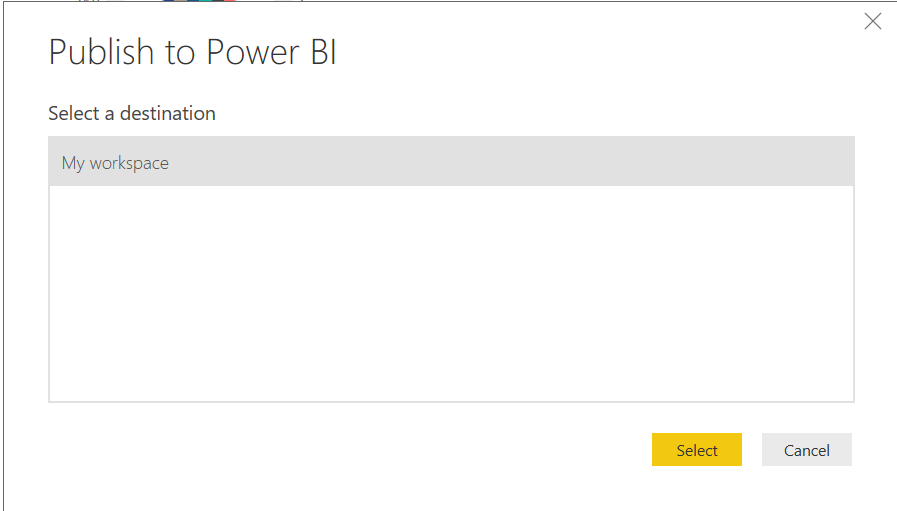
If you have access to several Workspaces within Power BI, you must first specify which workspace the Report will appear in after publishing:
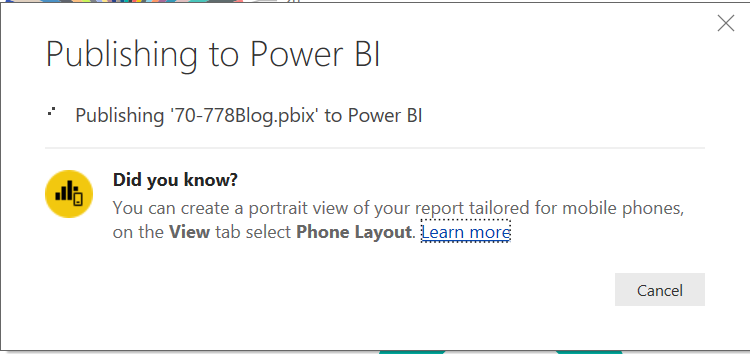
Depending on the size of your Report, this may take some time to upload, but a helpful dialog box will keep you informed on progress:
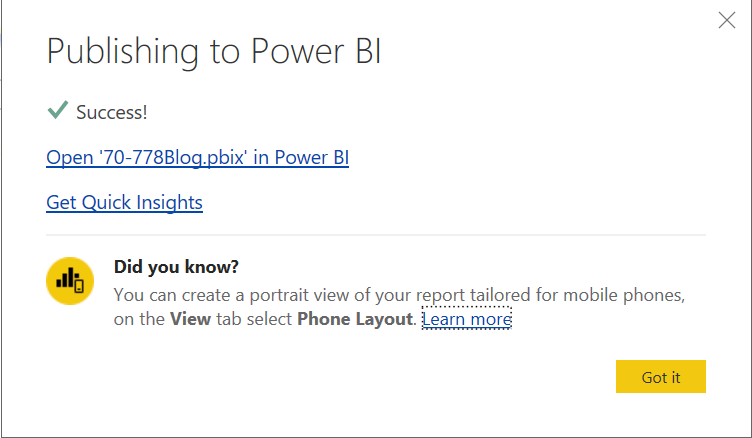
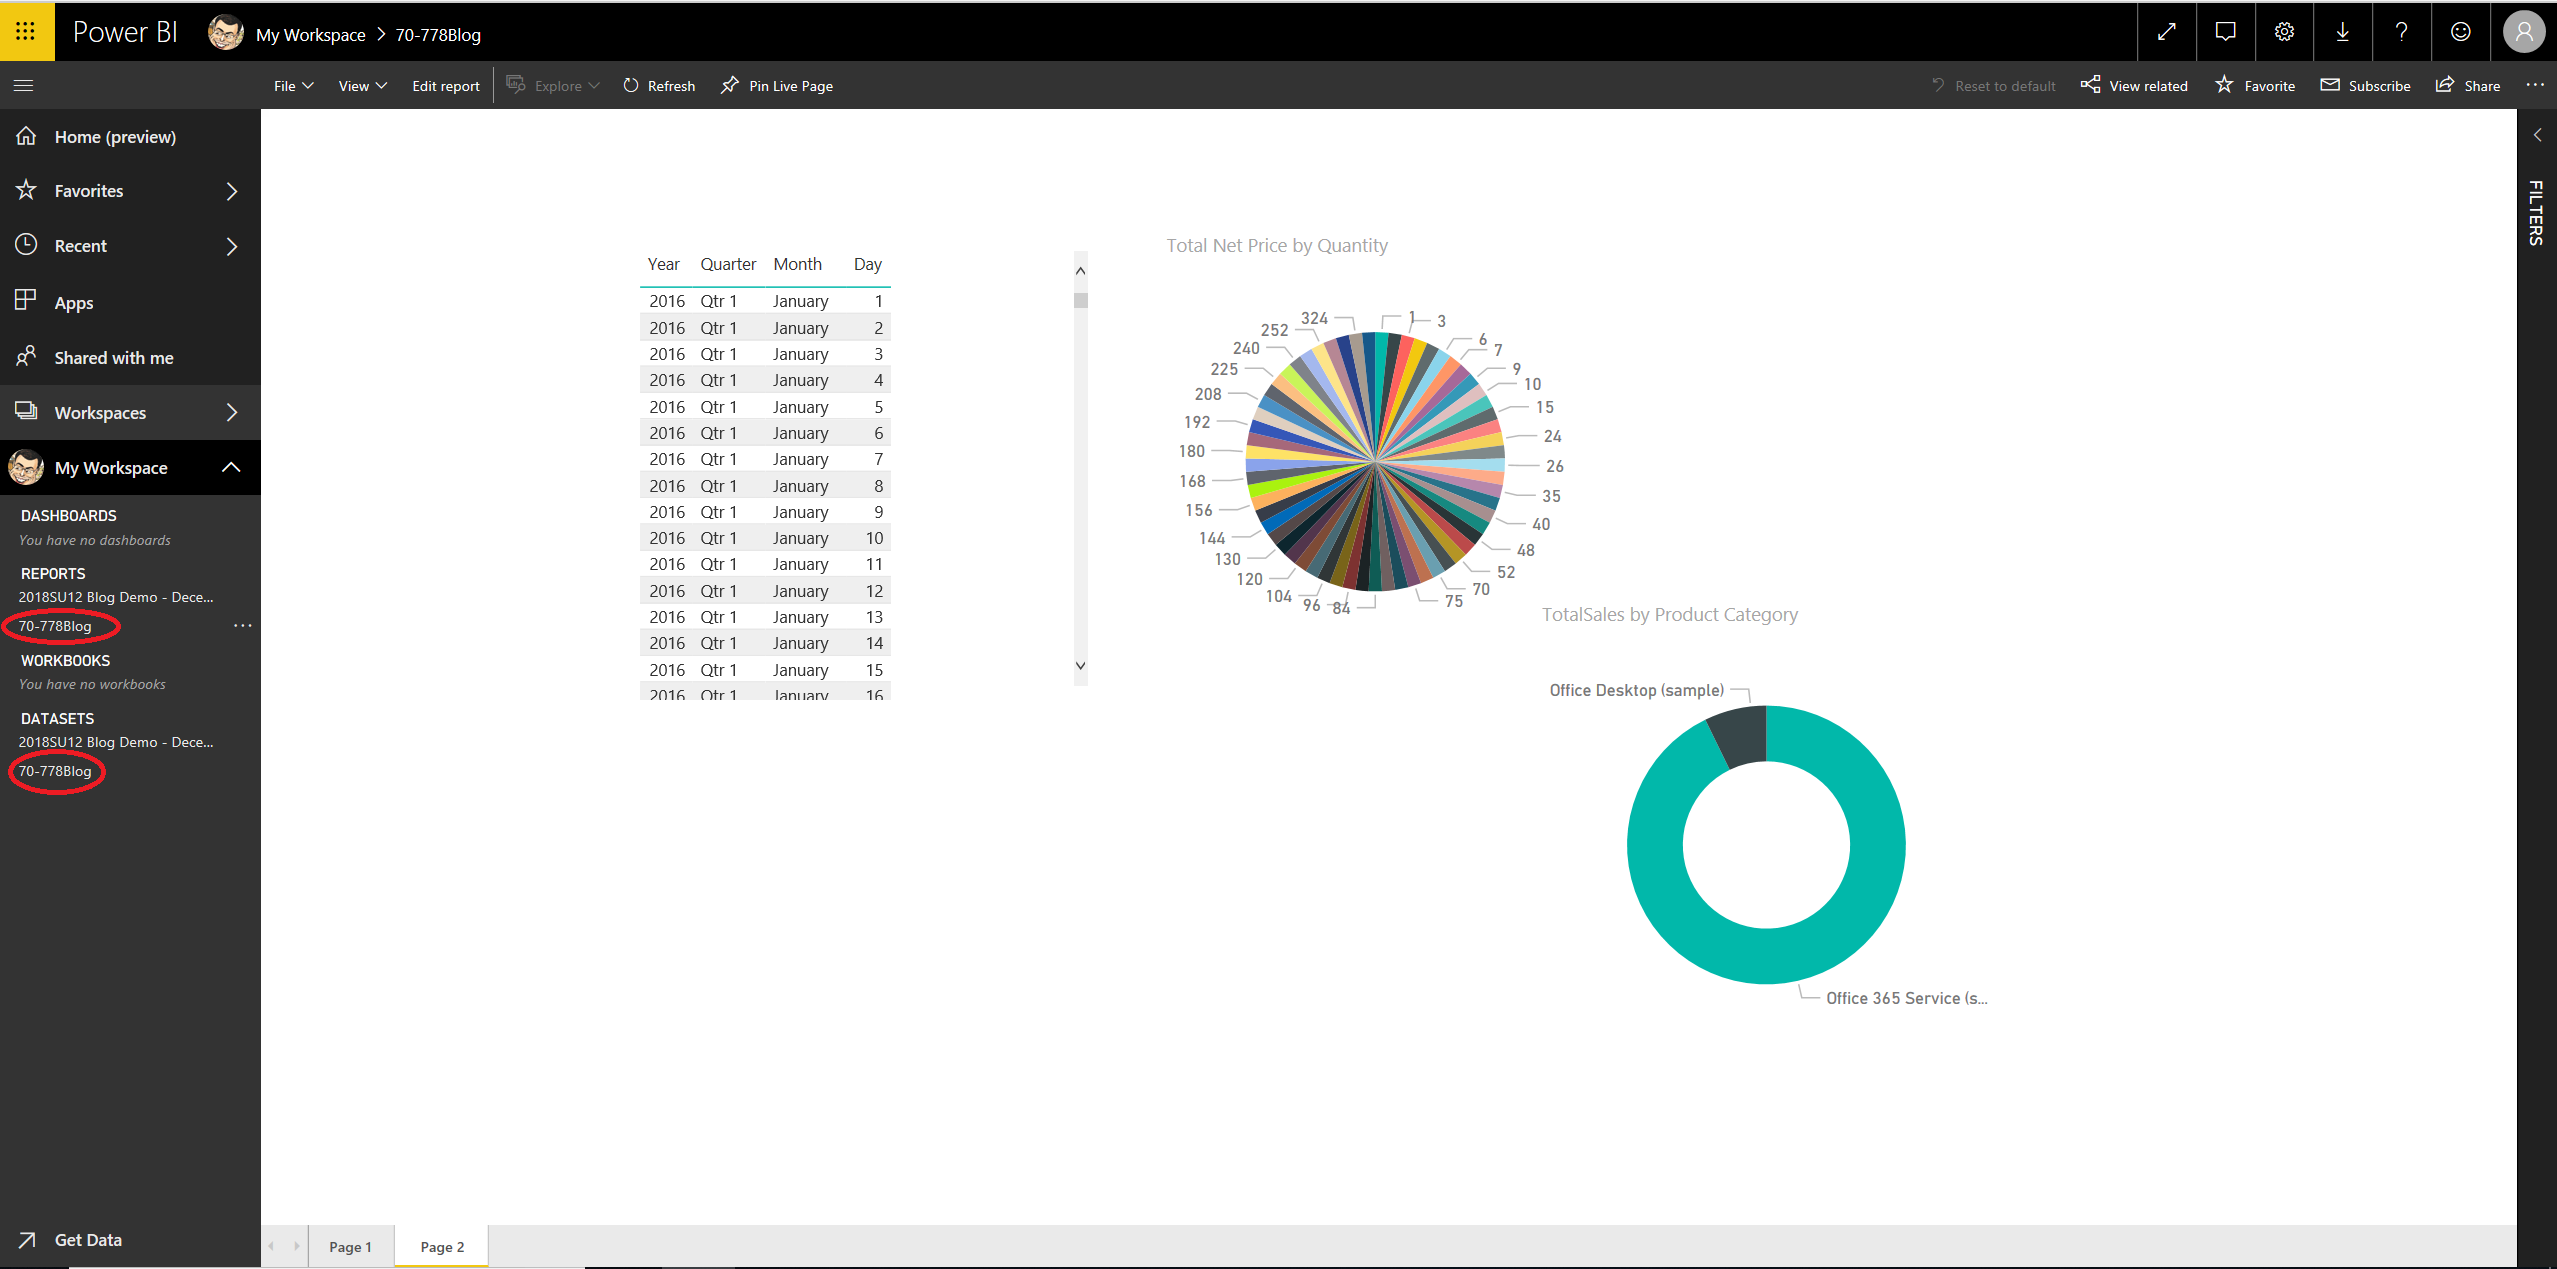
Once published, you will be provided with a hyperlink that opens the Report within your web browser, where both a new Report and corresponding Dataset will exist:
Once deployed, a Report can be modified in one of three ways:
- By updating the existing Report within Power BI Desktop and then re-publishing your changes; all current Reports/Datasets will then refresh accordingly.
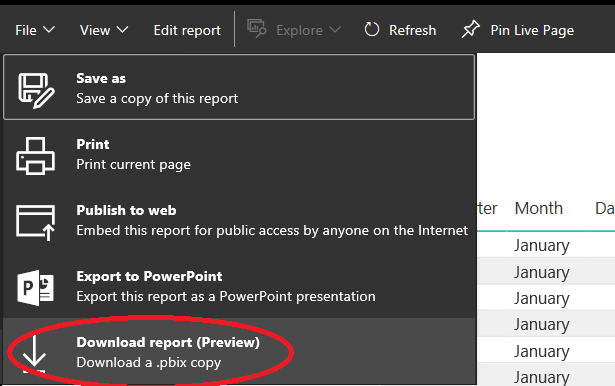
- If the original .pbix file is unavailable on your local machine, then you can go to File -> Download report (Preview) to get a copy of the file:
- This can then be modified and re-published in the manner already described.
- From directly within the Browser. This route provides a similar experience to Power BI Desktop but optimised for browser use. I would not generally recommend altering reports in this manner, especially if your Reports are subject to strict version control policies.
Working with Dashboards
Power BI Reports are similar to books in many ways, in that they cater towards more detailed analysis and precise drill-down capability. For situations where executive or senior level individuals require an at a glance view of the information that is most relevant for their needs, a Dashboard represents the optimal choice to include the data that interests them the most, while still allowing them to drill-down further if required. They also afford additional functionality that assists from a presentation standpoint, by supporting the ability to include images, hyperlinks, videos and even custom streaming datasets.
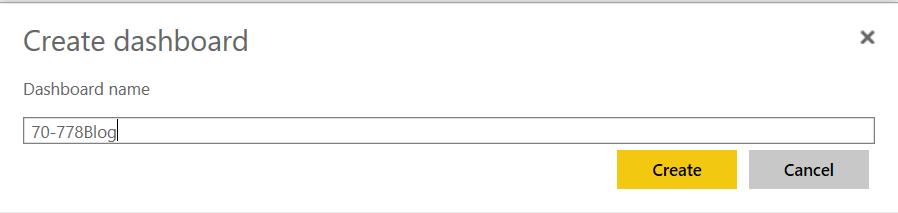
It is not possible to create Dashboards from within Power BI Desktop. Instead, you must generate them from a Workspace within Power BI online by selecting the + Create button at the top right of the screen, choosing the corresponding Dashboard option and by finally providing an (ideally descriptive) name for it:

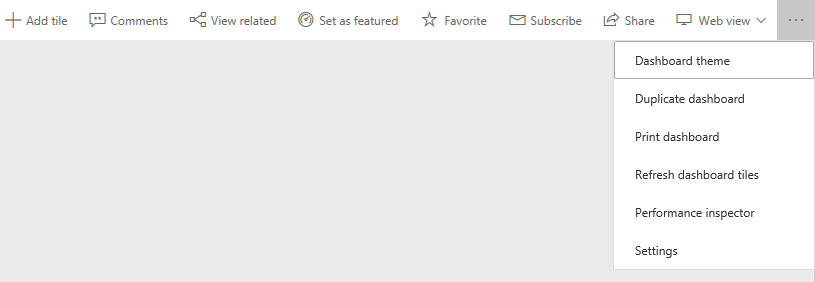
You have many different options available when working with a Dashboard, either from an administrative or end-user perspective and these are all accessible from the Dashboard ribbon, shown below and explained in the bullet points that follow:
- Add tile: Adds various tiles onto your Dashboard, such as web content, videos, custom streaming data sources, images or text boxes.
- Comments: Displays and lets you add comments to the dashboard, which can be viewed by all other users who have access to the Dashboard.
- View related: Shows a list of all Reports and Datasets that are associated with the Dashboard.
- Set as featured: When selected, Power BI will always display this Dashboard first when you login.
- Favorite: Adds the Dashboard to your favourites list.
- Subscribe: Allows you to configure email alerts whenever a refresh of data occurs on the dashboard, which will include the Dashboard content and a link to access it. Multiple subscriptions can be set up in this manner. This feature is only available if you have a Power BI Professional subscription.
- Share: Allows you to share data with other users within or outside your organisation. Once shared, you can then define the access level that these users have - Read or Read and reshare. Access can be revoked at any time. This feature is only available if you have a Power BI Professional subscription.
- Web view: Lets you toggle between either a Web View or Phone View of the Dashboard, allowing you to verify how the Dashboard renders on different device types.
- Dashboard theme: Enables you to change the current Theme for the Dashboard. New themes can also be defined using the Custom Theme designer or by uploading a JSON file. If you have already designed your own custom Report theme file, as discussed earlier in this series, then this can be uploaded here too.
- Duplicate dashboard: Creates a copy of the Dashboard within the current workspace, using a name you specify.
- Print Dashboard: Lets you print the currently displayed Dashboard to a physical printer or PDF.
- Refresh dashboard tiles: Forcibly updates all dashboard tiles to return the latest available data.
- Performance inspector: This will display some KPI type recommendations relating to your Dashboard, advising on elements such as network latency, choice of tiles and other information which is useful when fine-tuning Dashboard performance.
- Settings: Lets you modify settings for the Dashboard, such as Q&A capabilities, whether Comments are allowed or the default behaviour when moving tiles around. The Dashboard can also be renamed here.
As mentioned already, accessing the + Add tile button on the ribbon shows all the options available for adding content onto your Dashboard:
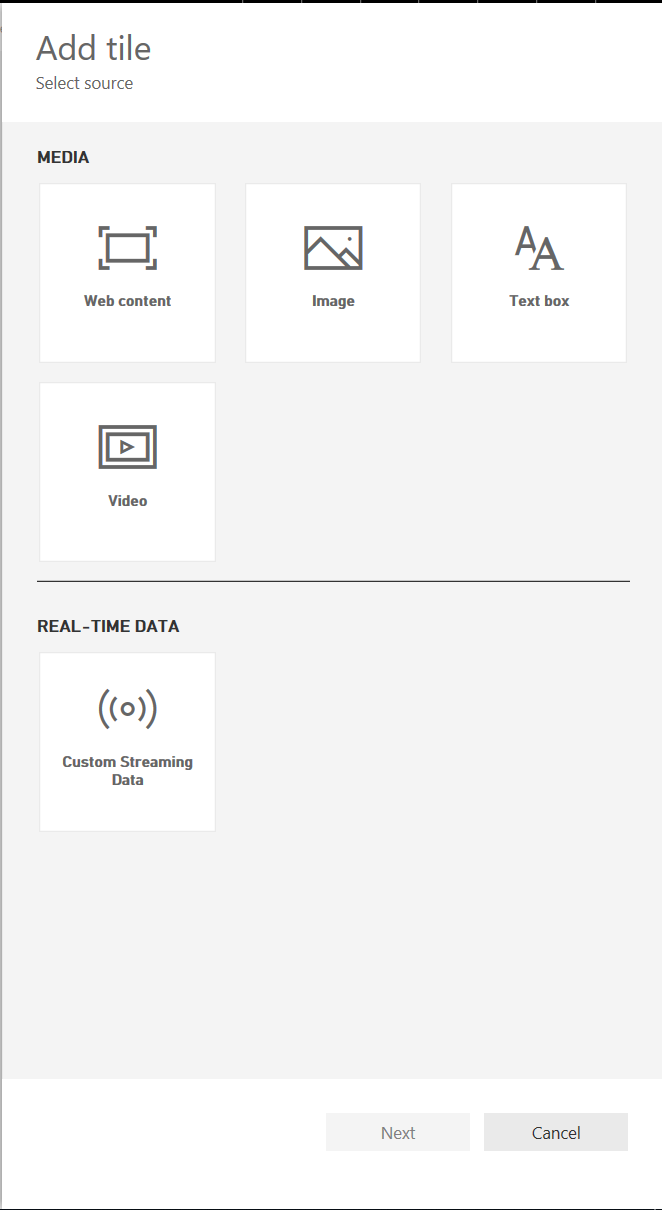
The next few sections will primarily focus on the three most used options - visualizations from a report, text boxes and images.
Visualizations
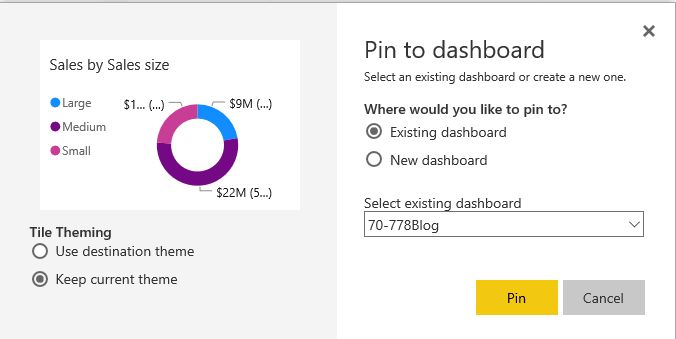
Any Report visualization can be pinned to a Dashboard, provided that they exist in a report within the same Workspace. To do this, navigate to the visualization in question and click on the pin icon in its top right corner. You’ll be asked to specify what theme is used for the visualization and also which Dashboard to add it to. Once decided and pinned, you can then navigate to your dashboard to see how this looks:

If there is a requirement to filter a visualization first before pinning it to a Dashboard, then you must do this within the Report, as there is no option to filter visualizations after they are embedded as a tile. A great alternative to get around this is discussed on the PowerDAX website, which involves the use of slicers.
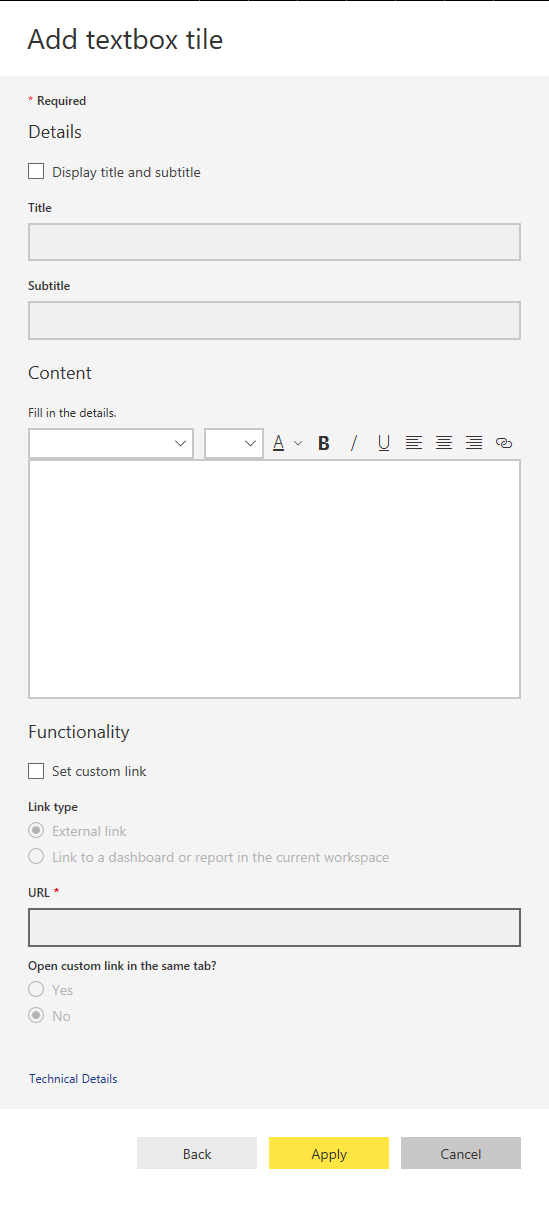
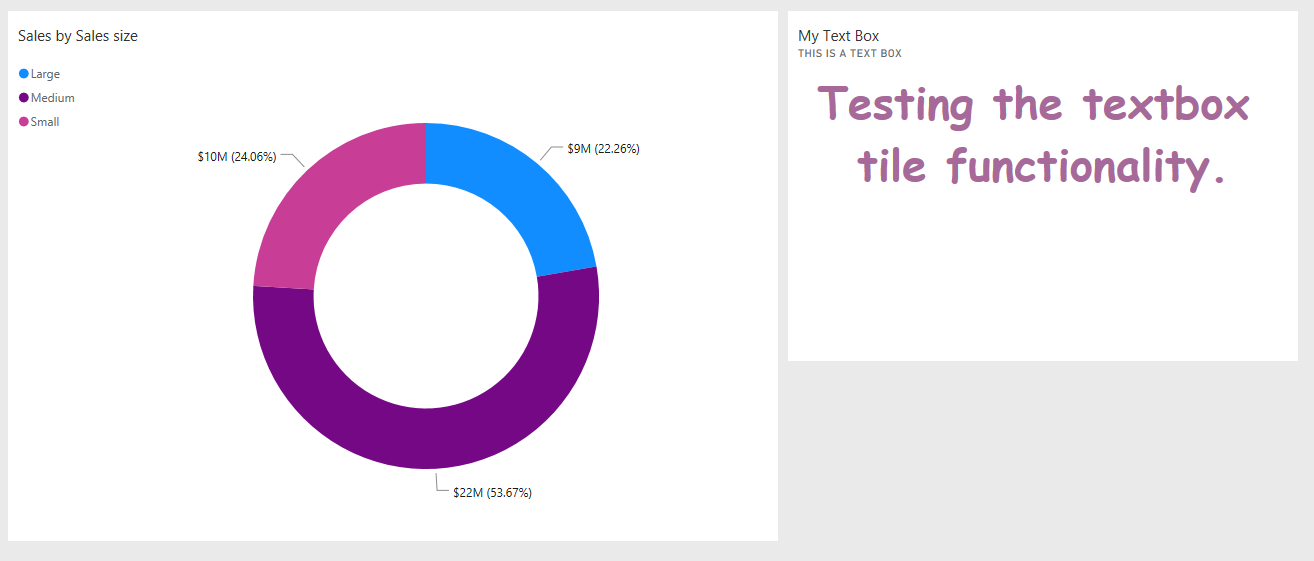
Text Boxes
This tile type should be reasonably self-explanatory, but it is worth highlighting the additional options available here:
- Titles/subtitles can be specified and, optionally, displayed.
- Text can be rendered using rich-text editor capabilities.
- It is possible to add a hyperlink to an external link, another Dashboard or a Report page, that redirects users accordingly after clicking the tile.
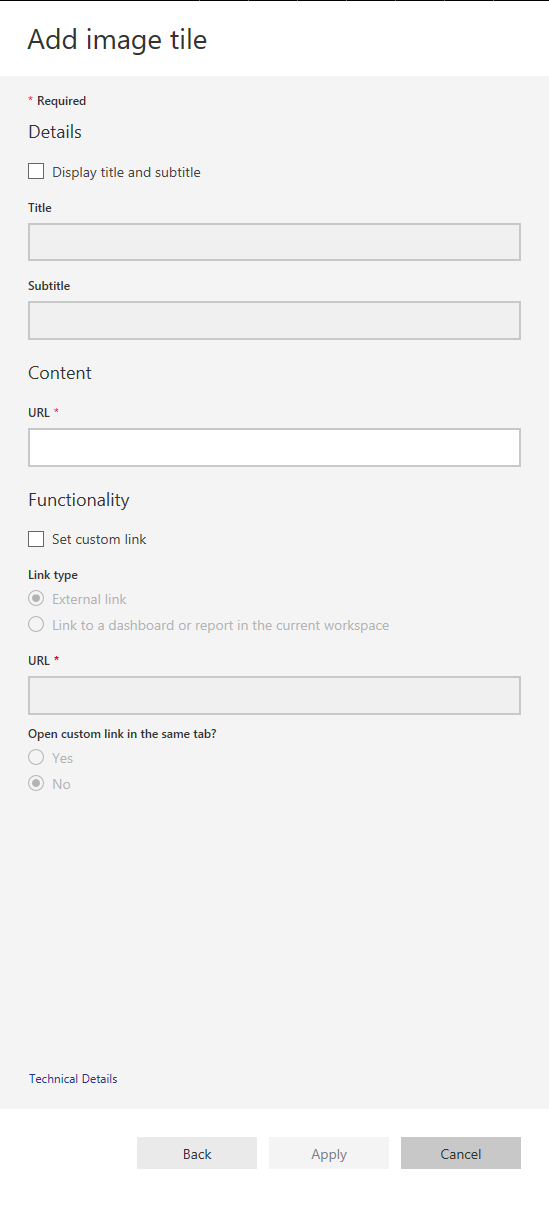
Images
The list of available properties when configuring an image tile is mostly the same as text boxes. The picture you wish to display must derive from a Web URL; there is no option to upload an image file. A good candidate for hosting any image could include a publically available OneDrive folder or an Azure Blob Storage location:
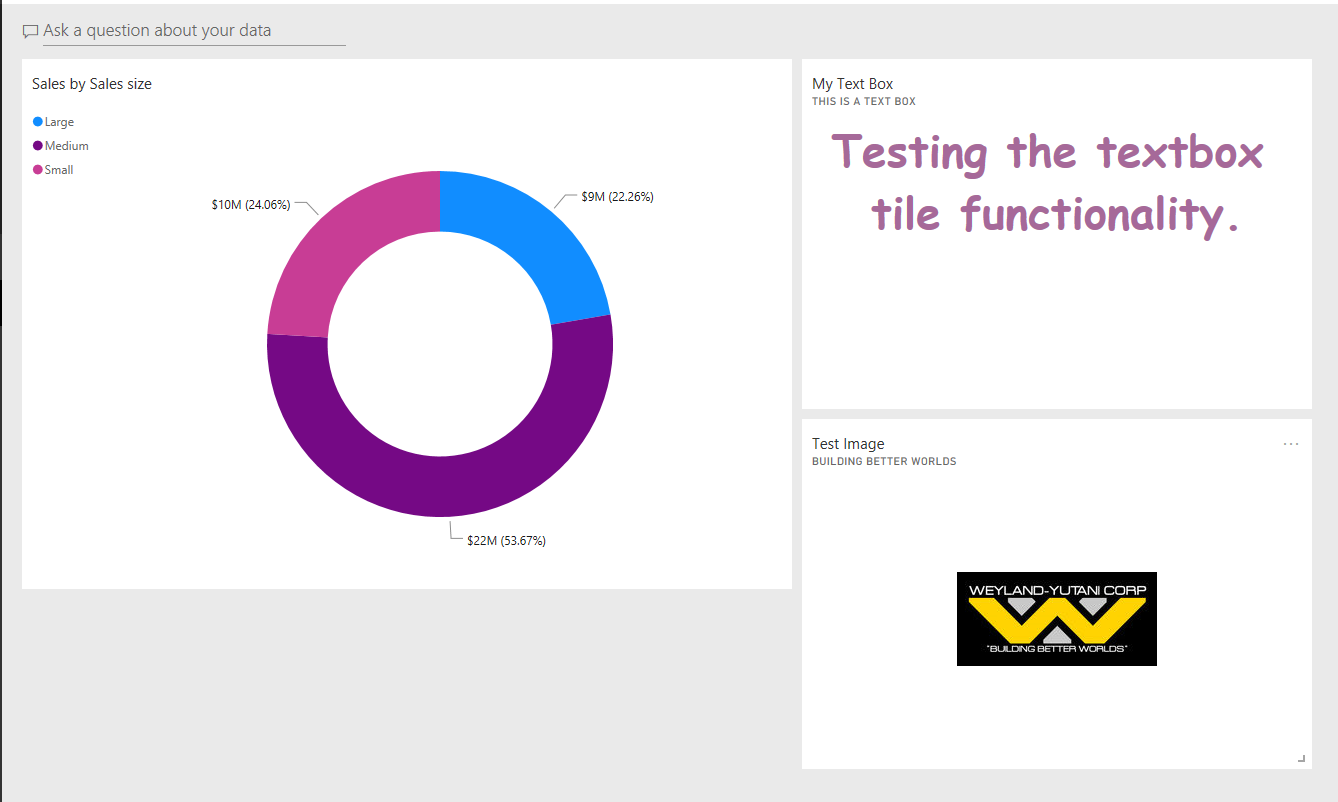
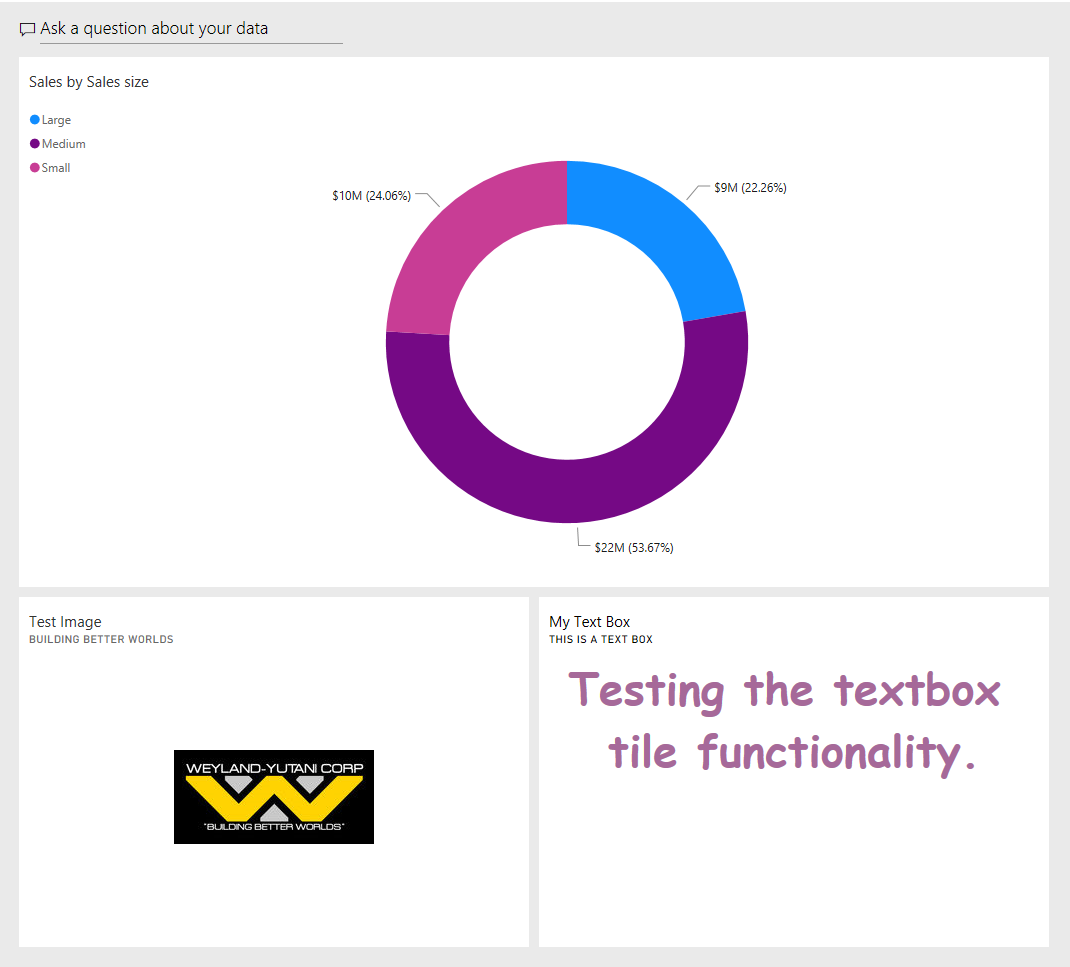
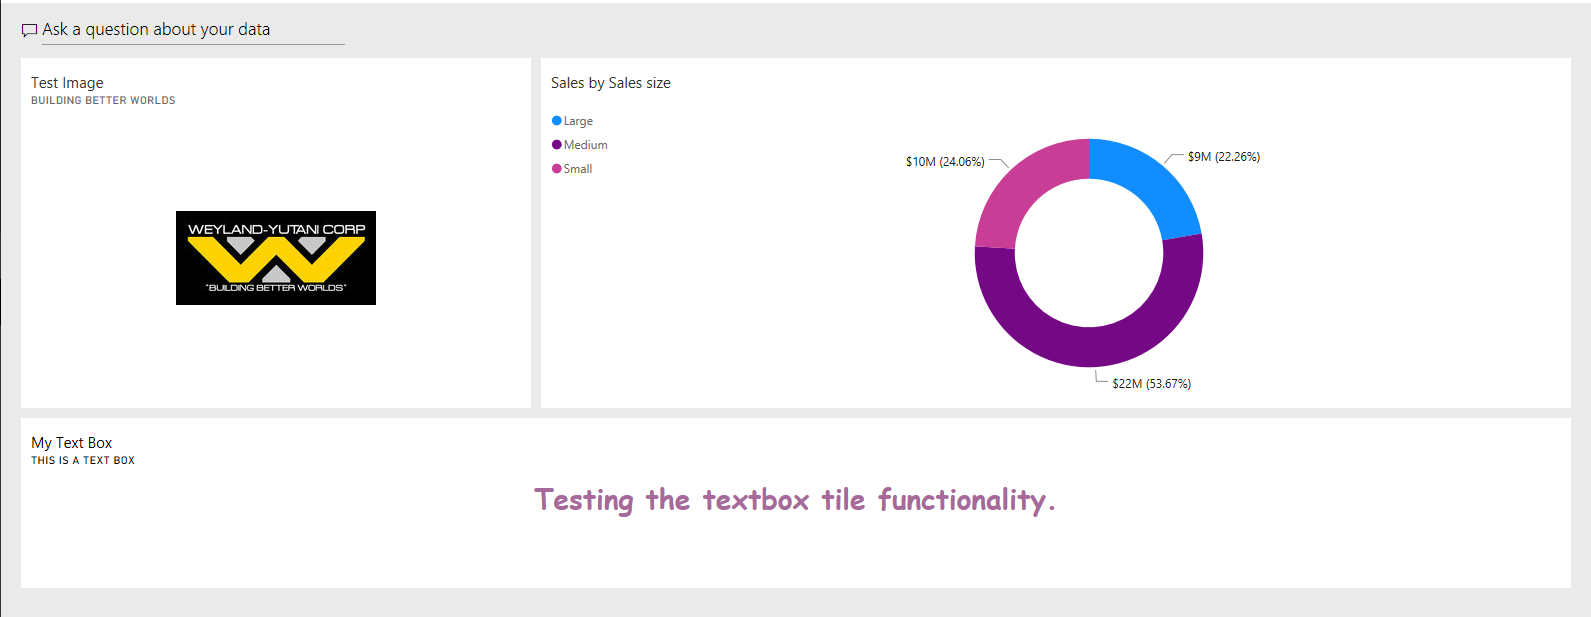
Rearranging Dashboard Content
It is possible to drag, drop, shorten and widen tiles on a Dashboard at any time. The two screenshots below show how it is possible to do this to suit any potential layout requirement you may have:
Key Takeaways
- The Power BI On-Premise Gateway provides a streamlined route to working with non-cloud data sources within Power BI, Microsoft Flow and PowerApps. As a lightweight and easy-to-configure client application, it supports a wide variety of data sources, making them accessible as if they were in the cloud. Once set up, corresponding Data Sources are then made available for configuration and for leveraging as part of any Power BI Dataset.
- Reports can be published into Power BI Online, meaning that they become accessible online and to a broader group of users, without requiring access to Power BI Desktop. Reports need deploying into a Workspace, which can be created manually or derived from an Office 365 Group. Each Report contains a corresponding Dataset, where all queries defined within Power BI Desktop exist.
- Reports that already exist on Power BI Online can be updated by just publishing a new version of the Report from Power BI Desktop. It is also possible to modify Reports from directly within the browser and by downloading a copy of the .pbix Report file as well, which can then be altered and re-published.
- Dashboards provide a means of grouping together various content as tiles, designed for at-a-glance analysis and optimal end-user experience.
- The list of content that can be pinned to a Dashboard includes:
- Visualizations
- Web content
- Images
- Text boxes
- Videos
- Custom streaming data
- Pinned content can be re-arranged on Dashboard via drag and drop functionality. It is also possible to resize tiles to any given height/width.
- Within the settings of a Dashboard, it is possible to enable/disable features such as natural language queries (Q&A’s) and Notes.
- Some features of a Dashboard are only available if you have a Power BI Professional subscription, such as sharing and email subscriptions.
We’ve covered a lot in today’s post and jumped around two distinct functionality areas within Power BI, both of which have arguable importance in their own rights. Next weeks post will hopefully be a lot easier to digest, as we evaluate the options available to publish Power BI Reports to a variety of locations, such as for public access or within SharePoint.