For those who have done a lot of work previously creating bespoke document templates within CRM, the only effective way in which you would traditionally do this within CRM was via a Report. For the uninitiated, reports are .rdl files that are created within CRM (for very basic reports) or via SQL Server Data Tools (for more complex/bespoke reports).
Dynamics CRM 2016 has potentially flipped this approach on its head with the introduction of Word Templates. Now, you can use Microsoft Word to develop and customise a template that can then be populated with the information you need from a CRM record. Given that Word is a far more accessible and familiar tool for many people, this new feature could be a game changer and major boon to CRM Administrators and Developers.
Having worked myself with SSRS a lot previously to create .rdl reports (and developed quite a fondness for it as a result), I am really interested in seeing whether it is more efficient and easier to use Word Templates compared to a .rdl report. So let’s find out by creating a very basic custom introduction letter that a business could use to generate for a Lead record. We’ll attempt both methods to see the steps, effort and ease of use involved for each, and then decide which tool is the winner. Given the number steps involved, this will be split across two separate posts, with the first post focusing on SSRS,
The steps below assume that you have not previously authored any custom SSRS reports on your system and that you have a FetchXML query ready to return data from CRM. We’ll be using the following basic query to return Lead data that should work with any CRM instance:
<fetch version="1.0" output-format="xml-platform" mapping="logical" distinct="false">
  <entity name="lead">
    <attribute name="fullname" />
    <attribute name="companyname" />
    <attribute name="telephone1" />
    <attribute name="leadid" />
    <order attribute="fullname" descending="false" />
  </entity>
</fetch>
Please note the enableprefiltering=“1” option above, if you are using your own custom FetchXML query, then this line we will need to be added to the <entity> node. Otherwise, your report will not upload correctly later on:
- First things first, you will need to download all of the software you need in order to build the reports. Technet has a great article that goes over what you need, the salient bits of which are as follows:
- SQL Server Data Tools in Visual Studio – This is a free download. If you already have an existing version of Professional, Ultimate or Premium Edition Visual Studio, then double check your computer first as you may already have SSDT installed. In which case, you can skip this step.
- Microsoft Dynamics CRM 2016 Report Authoring Extensions
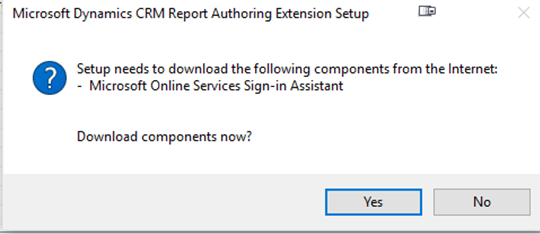
Both downloads are fairly small and shouldn’t take long to install. During the Report Authoring Extension Setup, you may be prompted to install Microsoft Online Services Sign-in Assistant, press Yes if this the case:
- Once installed, open up SSDT using Start -> Search or in Program Files -> Microsoft SQL Server 2012:
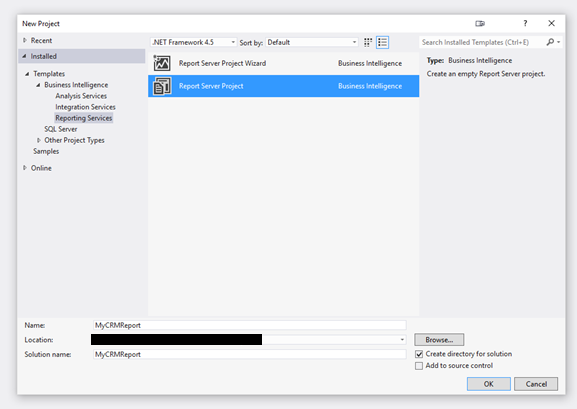
- Once open, go to ‘File’ -> ‘New’ -> ‘Project…’ You’ll see a Window similar to below:
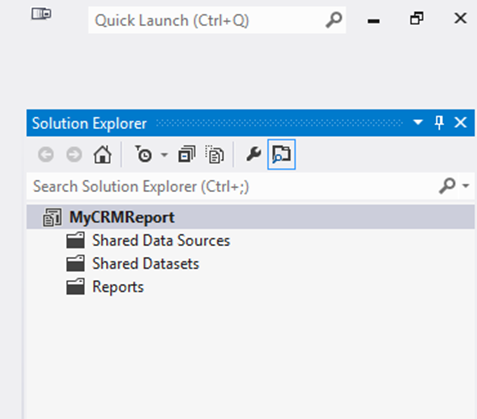
Select the ‘Report Services Project Template’, give your Project a name and then press ‘OK’. An empty solution file will be created, with the following folders visible on the right under Solution Explorer:
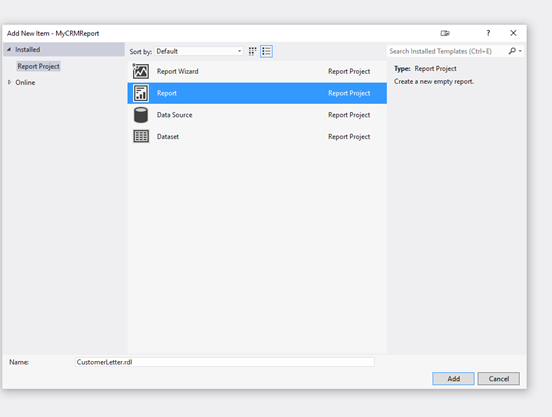
- Typically, at this point you would create your Shared Data Sources/Datasets. Unfortunately, CRM reports do not support these so we need to create our report first. Right click the Reports folder and go to ‘Add’ -> ‘New Item…’. Select Report, give it a logical name, and press ‘Add’:
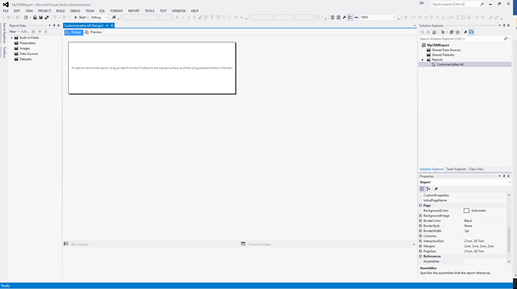
The report will open for you within VS:
Now we can start to create our data sources 🙂
- On the left hand side, under ‘Report Data’, right click on the Data Sources folder and select ‘Add Data Source…’ You’ll then need to enter your CRM instance settings:
- Tick the box where it says Embedded Connection
- On the dropdown list for Type, select ‘Microsoft Dynamics CRM Fetch’
- Under Connection String, enter the URL for your CRM instance. There are also two additional parameters that can be specified, but only really useful if your URL points to multiple CRM organizations and/or if you have Active Directory Federation setup.
- Under Credentials, if you are connecting to an On-Premise CRM instance, select ‘Use Windows Authentication (integrated security)’; if your are connecting to CRM Online, then select ‘Use this user name and password’ and enter your CRM Online login details.We’ll test these connection string settings in a few moments
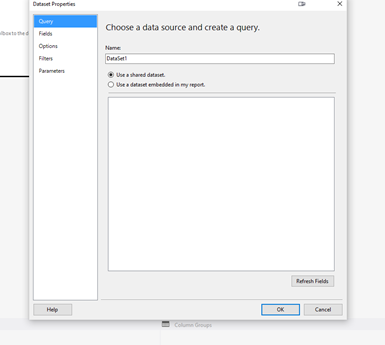
- Now that we have our Data Sources, we can create our Datasets (too many Data’s, eh?). Right click on Datasets and select ‘Add Dataset…’:
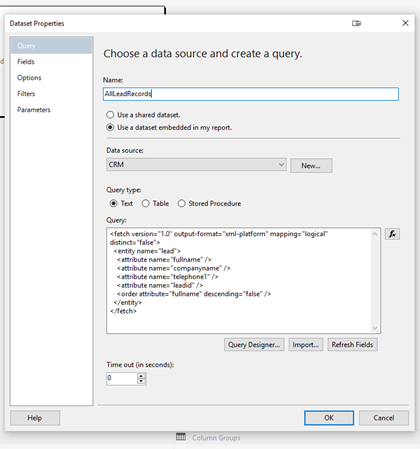
Enter the following settings:
- Enter a name for your Dataset, ideally something descriptive in terms of what data the report is returning
- Tick ‘Use a dataset embedded in my report.’
- Under Data Source, select your newly created CRM Data Source
- Ensure that under Query Type, Text is selected
- In Query, copy + paste or (for bonus points!) manually type your FetchXML query
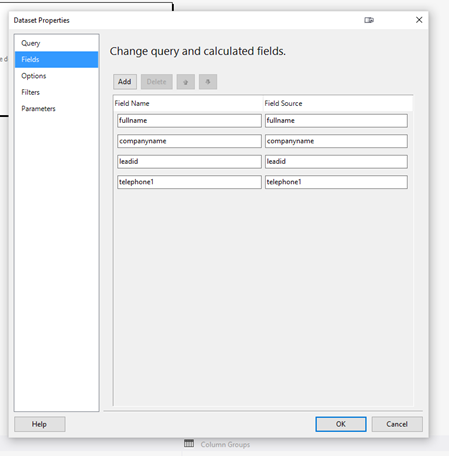
- Click Refresh Fields. After a few moments, you should then be able to click on ‘Fields’ on the left pane and see all of the fields from CRM. This means its working! If you get an error message, then double check your connection string details
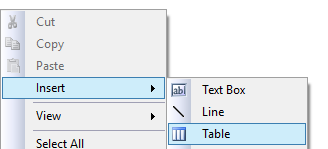
- Now the fun part – time to build the report! I will probably do a future blog post on some of the cool things you can do with SSRS. Suffice it to say, for the purposes of this post, we are just going to create a very basic report that displays some field data in a tablix. The report will be run from an individual record, thereby pulling in its data fields. First of all, we will add a tablix to the report. This is as simple as right clicking on the report area, selecting Insert -> Table. The tablix will then appear with a dotted line on the report area:
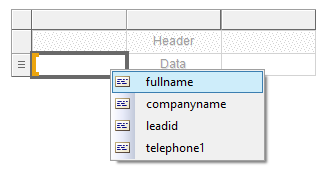
- Because there is only one dataset configured for the report, the tablix will automatically associate itself with this. We can therefore start to add in the field by click on the top left a column (where the small table icon appears) and then selecting each individual data field we want to add. SSRS will also add on the appropriate header text for each field you put onto the tablix:
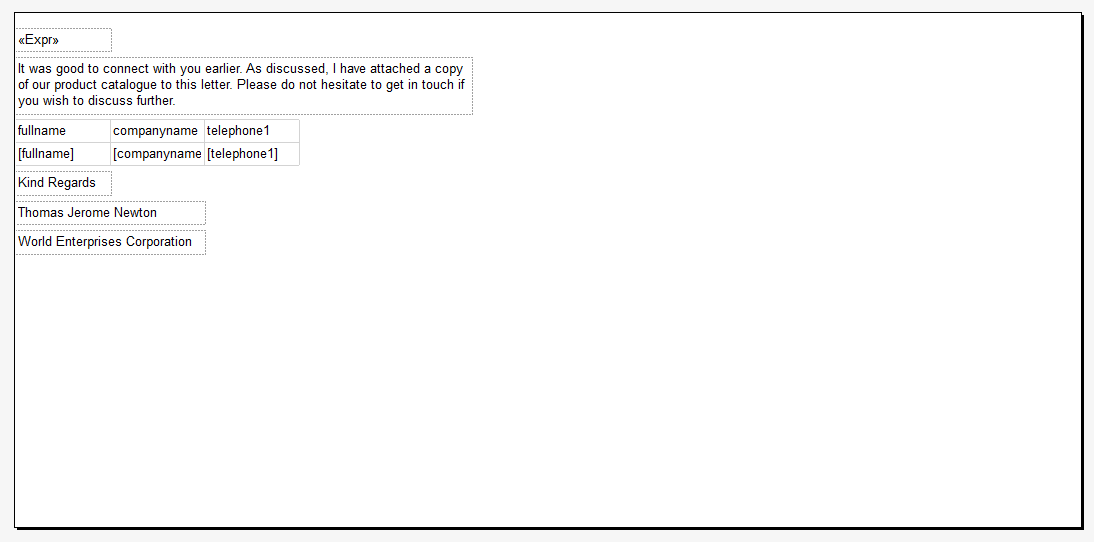
For this report, we will add on the fullname, companyname and telephone1 fields. After adding on some customised text to make the report look like a letter, the report should look something like this:
Very basic I know! But the report will illustrate well what .rdl reports can do within CRM.
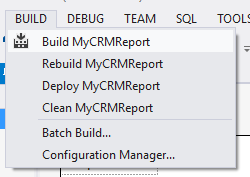
- Now that the report is finished, we can upload it onto CRM. To do this, we will need to locate the .rdl file for the report first. Press “Build” on your Visual Studio solution (in order to ensure that you have the most up to date version saved to disk) and then open up your Project solution folder in Windows Explorer to find your newly created report:
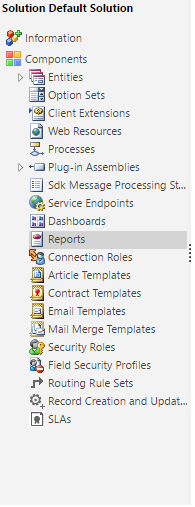
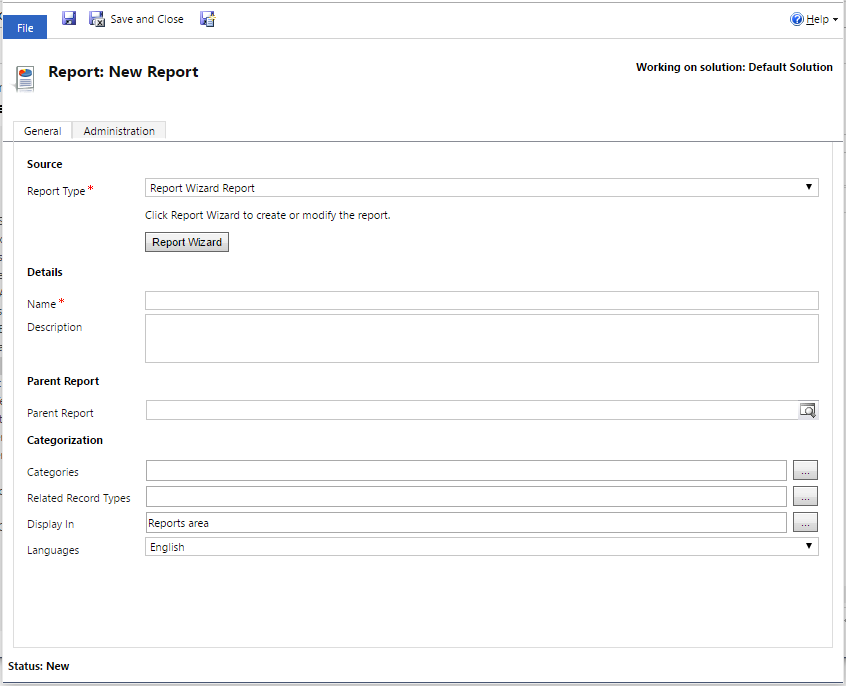
- Moving across now into CRM, we need to either go into our target Solution or alternatively customise the system via the Default Solution (not recommended for development/Production environments!). On the left-hand bar, we will see a section called Reports. Click on it, and then on New in the centre area to open a pop-up window, which lets us start adding a report into CRM:
It’s useful at this stage to explain what some of the different fields/options mean:
- Report Type: There are three options here. The first is Report Wizard Report, which takes you through a wizard in CRM to enable you to create a basic report utilising Advanced Find-like filter criteria. You can even make a copy of an existing report and modify it, though you will be limited in your customisation options. The second option is Link to Webpage and enables you to specify a URL to a report that exists outside of CRM (e.g. SAP Crystal Report). The final option, and the one we will be using today, is Existing File and lets you upload a .rdl file into CRM.
- Parent Report: Similar to what you can do within SSRS Server, you can setup Parent/Child Reports to link together similar reports (e.g. you could have a Parent Account report, that then has a Child Report which shows all of the Contact Details for the Account)
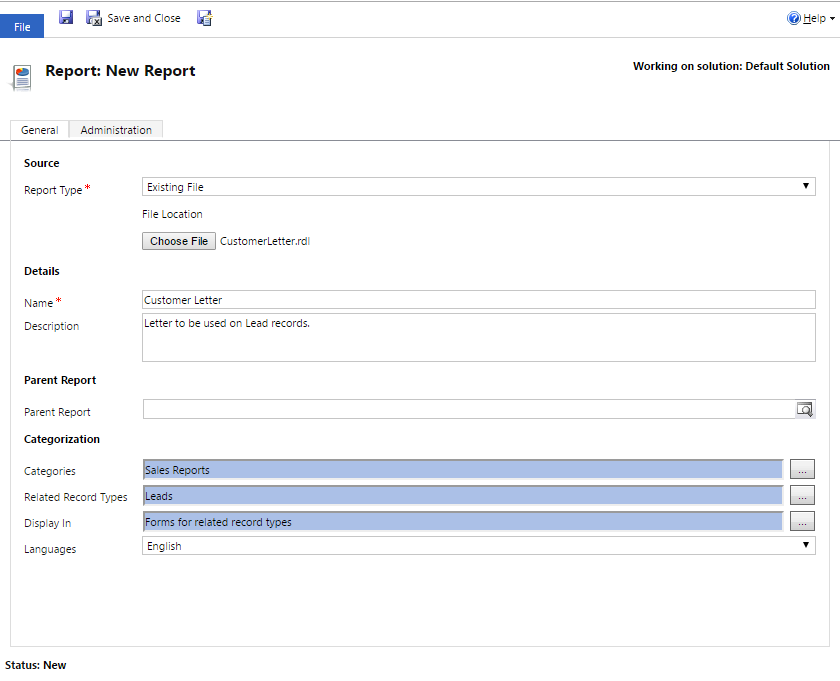
- Categories: These are grouping options to indicate the type of report you are adding.
- Related Record Types: Here you need to specify which CRM entities the report can be run from.
- Display In: Indicates where the report will be visible from. You can select one or many of the options. Reports Area will display the report from the Sitemap Report area, Forms for related record types will make the report available from the Form of the entities you have specified in Related Record Types and, finally, Lists for related record types will do the same, but from the Entity View page instead.
- Because we want our report to run on Lead forms only, we need to ensure that the Related Record Types contains Lead, and to ensure our Display In options are configured accordingly. Finally, we need to upload a report by selecting Choose File and then populate the other details accordingly. Your pop-up window should look similar to the below when you are ready to save:
- Save and the Publish your changes. Assuming no problems, you should now see your Report on the Run Report button on your Lead form:
As you can see, creating a CRM .rdl report for the first time can be quite time consuming and then, depending on the complexity of the report you are trying to create, could take even longer on top of that. I am therefore really interested in finding out as part of next week’s blog post what the process is like for Word Templates, and whether it is a quicker and more effective means of creating reports.

