I have been really excited recently, as I began working more closely with ADXstudio & CRM Portals. This was perhaps one of the more exciting new features introduced as part of the CRM 2016 Spring Wave earlier this year and presents a major step forward for the CRM product. Now, businesses can start to leverage their CRM and its data in developing professional, accessible, customer and/or partner facing websites that integrate natively with your existing CRM system and processes.
One of the first challenges when getting to grips with portals is how you go about changing the OOB design of your site - for example, how do you modify the colour for a background or a particular button? Both products utilise Bootstrap to enable portal designers to very quickly develop professional looking portals that are customised to suit particular businesses design/theming preferences. In addition to this, as outlined on ADXstudio’s website:
By using Bootstrap’s layout system, it’s possible to develop a single site that presents an appropriate interface to all devices your customers might use.
In the days where mobile responsiveness is an absolute requirement for website projects, Bootstrap provides a framework that ensures a consistent UI experience is maintained at all times for your end users. But, if you are scratching your head at just how to start working with Bootstrap (like I recently was!), it can be a major hurdle figuring out how to begin styling your portal. In this week’s blog post, I will take a closer look at what Bootstrap is, what “shortcuts” are out there that can greatly speed up developing your first Bootstrap template and how you go about applying this to your custom portal site:
What is Bootstrap?
Bootstrap was originally developed by Twitter but has since become an open-source project, on its 3rd major version. The Bootstrap website contains a nice little summary around the history of the project and its interesting journey from internal project to open-source release:
Bootstrap was created at Twitter in mid-2010 by @mdo and @fat. Prior to being an open-sourced framework, Bootstrap was known as Twitter Blueprint. A few months into development, Twitter held its first Hack Week and the project exploded as developers of all skill levels jumped in without any external guidance. It served as the style guide for internal tools development at the company for over a year before its public release, and continues to do so today.
Source: http://getbootstrap.com/about/
I was actually surprised to learn about its popularity, having not had any previous exposure to it, and its status as the almost de-facto standard in website design circles.
Creating your first Bootstrap Template
Microsoft’s article on portal theming (replicated from ADXStudios original article) suggests a few different websites to try in the first instance. We’ll take a closer look at 3 of the websites mentioned here that enable you to customise a Bootstrap template from scratch, and then at an alternative route not mentioned on either website:
Official Bootstrap Customizer
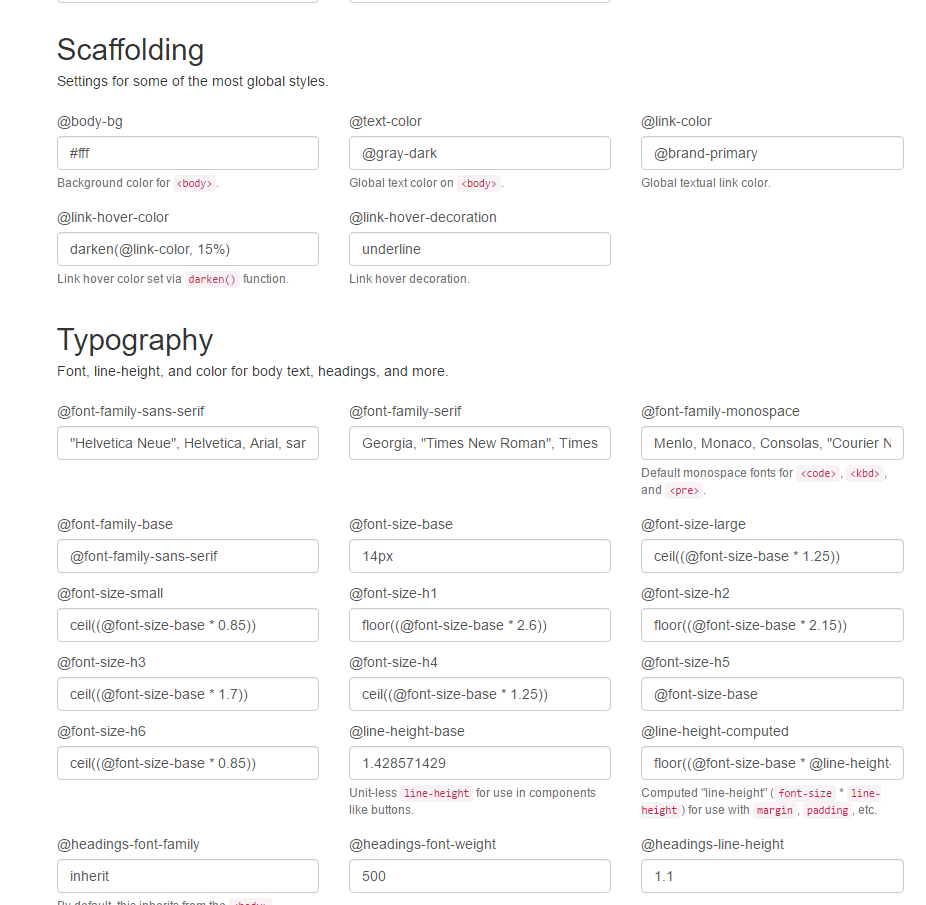
Via the official Bootstrap website, you can create your own custom bootstrap template. As pointed out in the above articles, there is no GUI interface that lets you preview your customised template; which means you have to download and apply the Bootstrap files to your website in order to get a feel for how it looks. If you’re feeling particular masochistic, then this is definitely the route for you 🙂
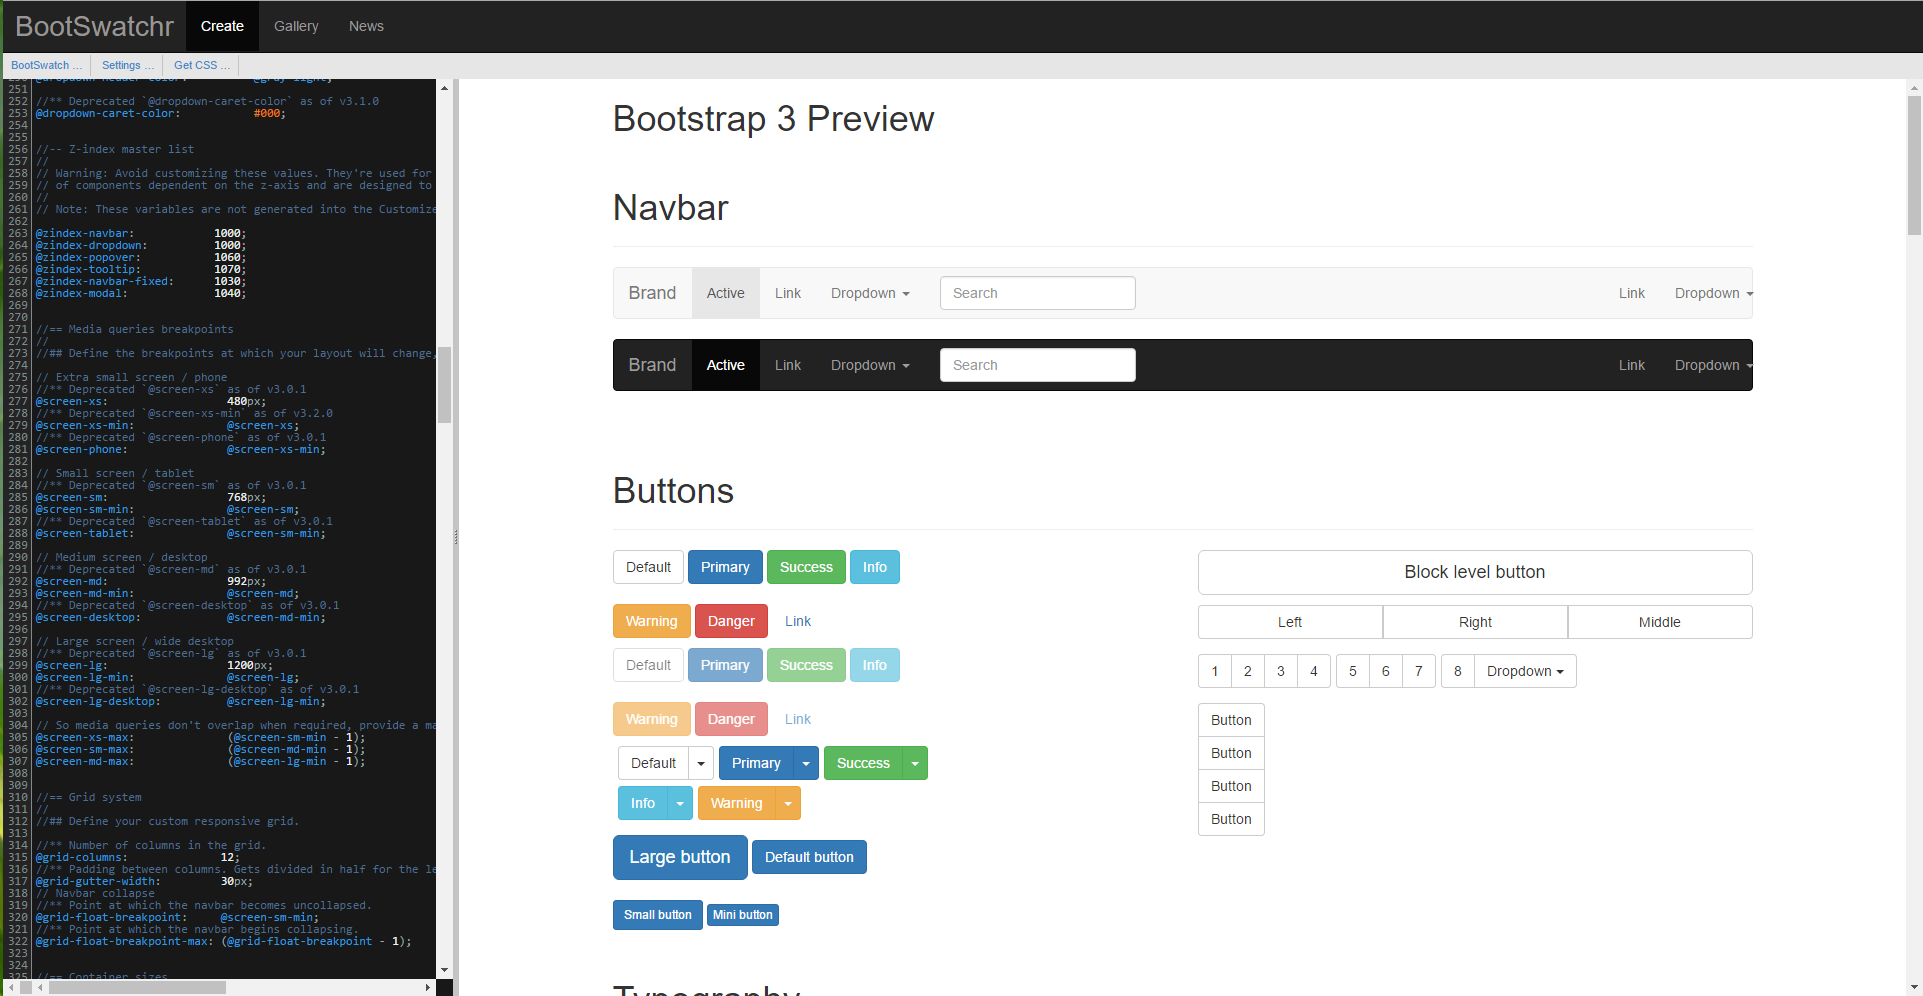
BootSwatchr
When you first start using BootSwatchr, you immediately warm to it straight away - it provides a WYSIWYG editor, enabling you to very quickly tinker around with the various settings on the default Bootstrap template, and see how they will look in a browser. VERY nice! However, I have encountered some issue using the tool on Internet Explorer/Microsoft Edge, particuarly when it comes to the most crucial bit - exporting your BootStrap template .css file using the ‘Get CSS…’ button. This is definitely one of the tools you should check out in the first instance, but just be aware that it may not work correctly on your browser of choice.
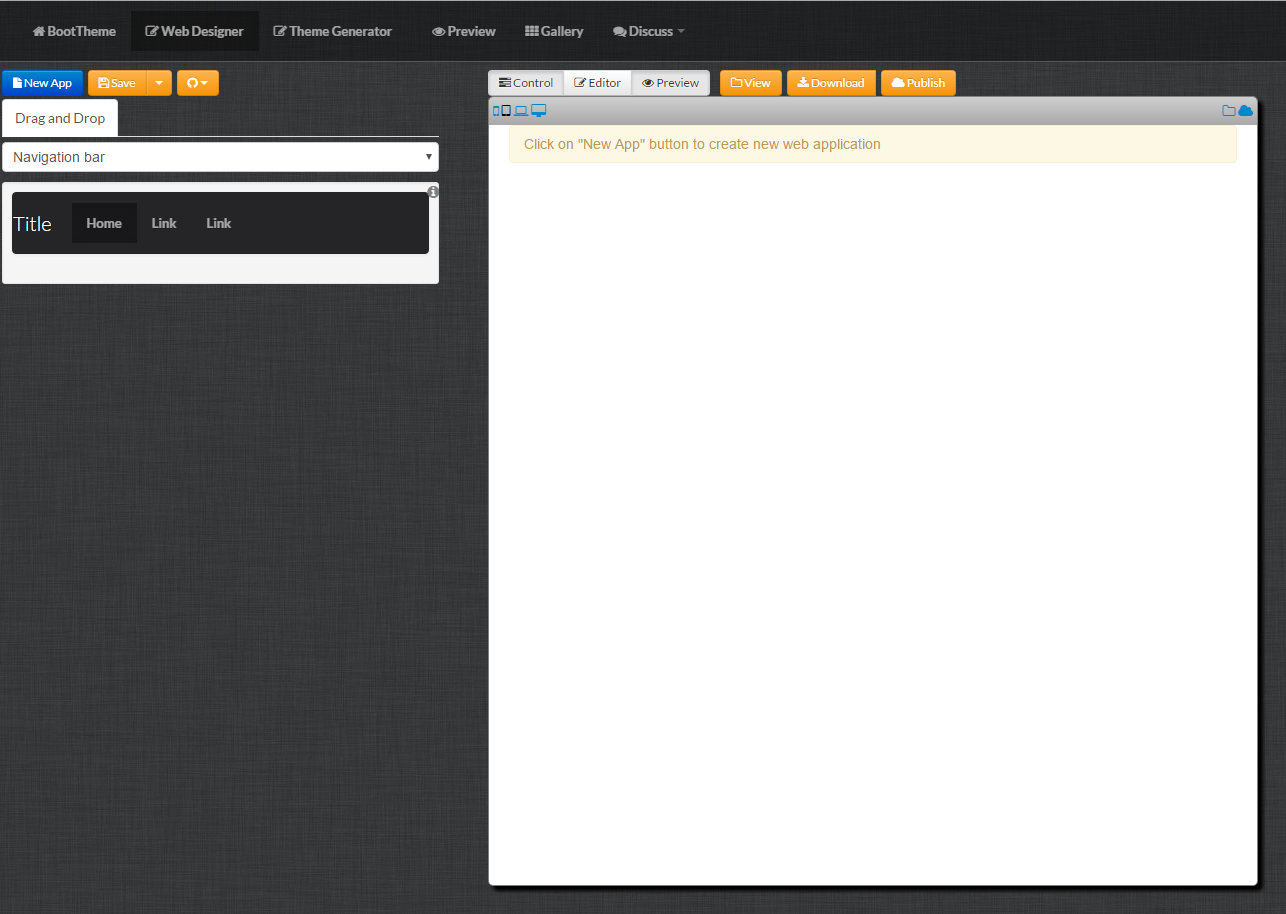
BootTheme
What is encouraging when you first start using BootTheme is that it looks to be constructed in the same vein as BootSwatch. However, I have had real trouble figuring out how to use this tool, as it is initially quite daunting figuring out where to start. I think with some dedicated time and learning, this could be a really effective tool to use when building your Bootstrap templates, but perhaps not the best beginners tool.
PaintStrap/COLOURLovers
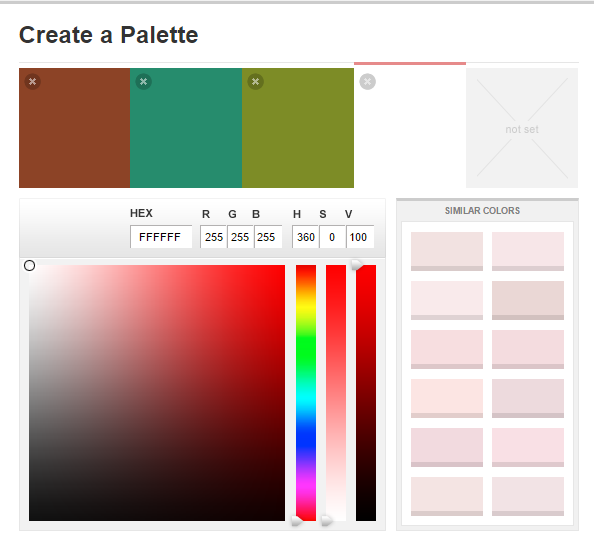
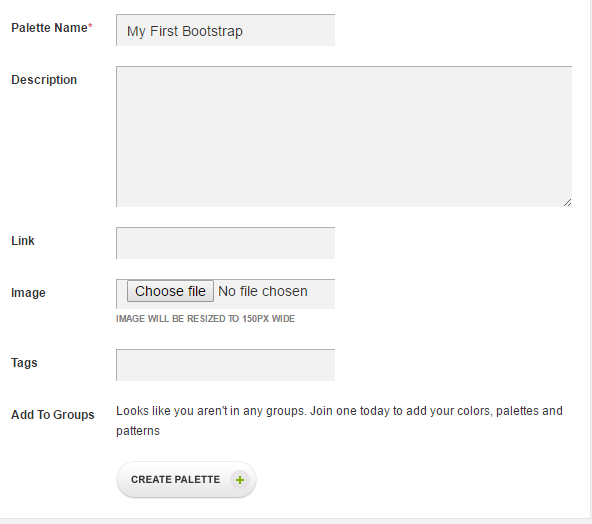
These tools are the ones that I have used when creating Bootstrap templates, and used in tandem, are quite effective in creating a Bootstrap template that conforms to specific branding requirements. You start off by creating a ColourLovers account, which lets you then create a “colour scheme” that can be used in PaintStrap. A “colour scheme” is essentially a collection of up to 5 different colours that you want to use on your BootStrap, which can be generated very easily using the ColourLovers website. Simply go to Create -> Palette, specify your colours, give it a descriptive name and save onto your profile:
Once you’ve saved your COLOURLovers template, you then copy across the 6 digit code for the template into the PaintStrap 3 step wizard. This can be found within the URL of your selected template:
Which is then entered onto PaintStrap:
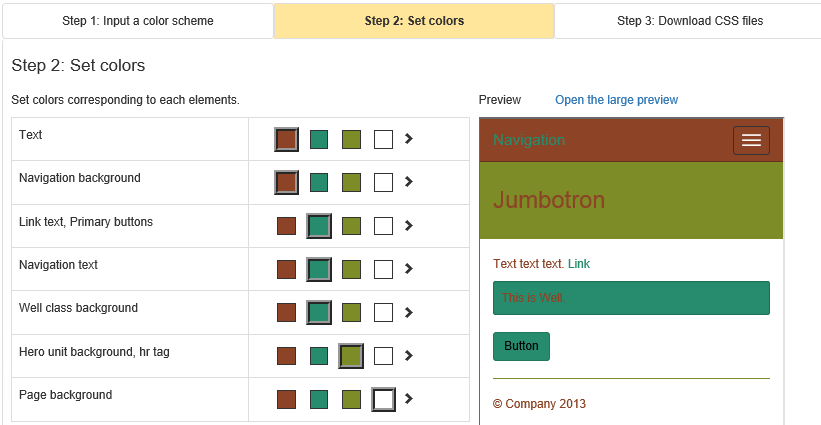
Then, on Step 2, you can start to customise which colours will appear where on your BootStrap - the nice thing being that you are not restricted to just the colours on your template and you can get a partial and full-screen preview of your template as you build it:
When you are happy with your template, click the ‘Generate CSS!’ button to download your BootStrap .css file. You will want to grab the bootstrap.min.css file; this is exactly the same as the bootstrap.css file but has been slimmed down to remove line breaks, whitespace etc.
Once you’ve got your Bootstrap, how do you apply it to your portal?
Let’s assume we are using the Basic Portal, provided as part of ADXStudio; the steps are the same for CRM Portals, rest assured:
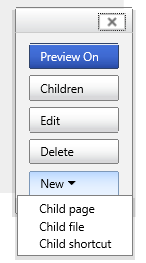
Navigate to the home page of your portal, ensuring that you are logged in as a Contact that has the Administrators Web Role. On the ADX widget on the top right of your page, click on New -> Child file:
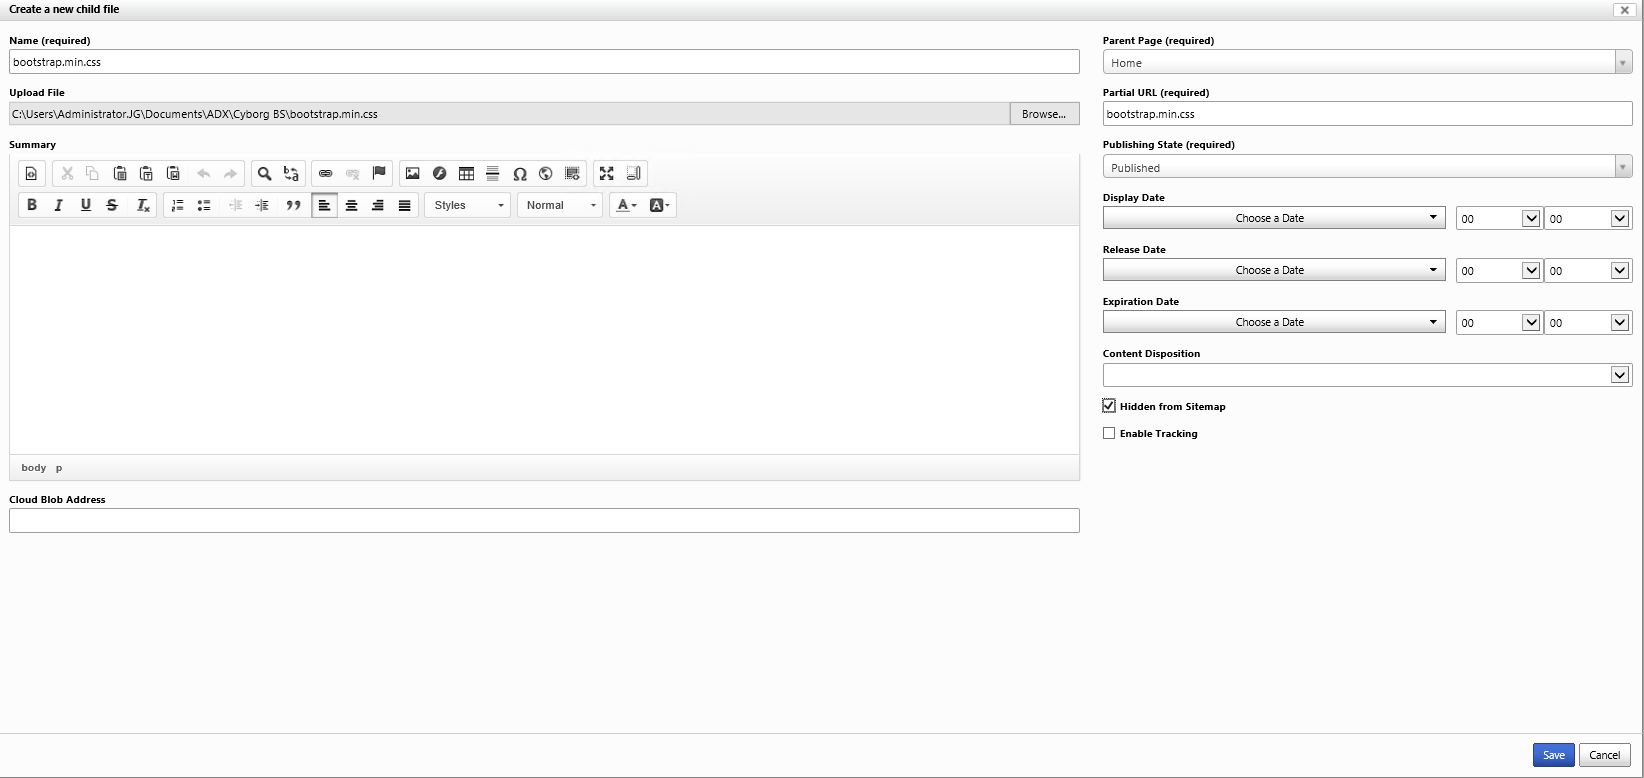
You’ll be greeted with the Create a new child file screen. Populate the details as follows:
- Name: bootstrap.min.css
- Upload File: Browse and select your bootstrap.min.css file
- Partial URL: bootstrap.min.css
- Hidden from Sitemap: Tick the box
It should look something like this:
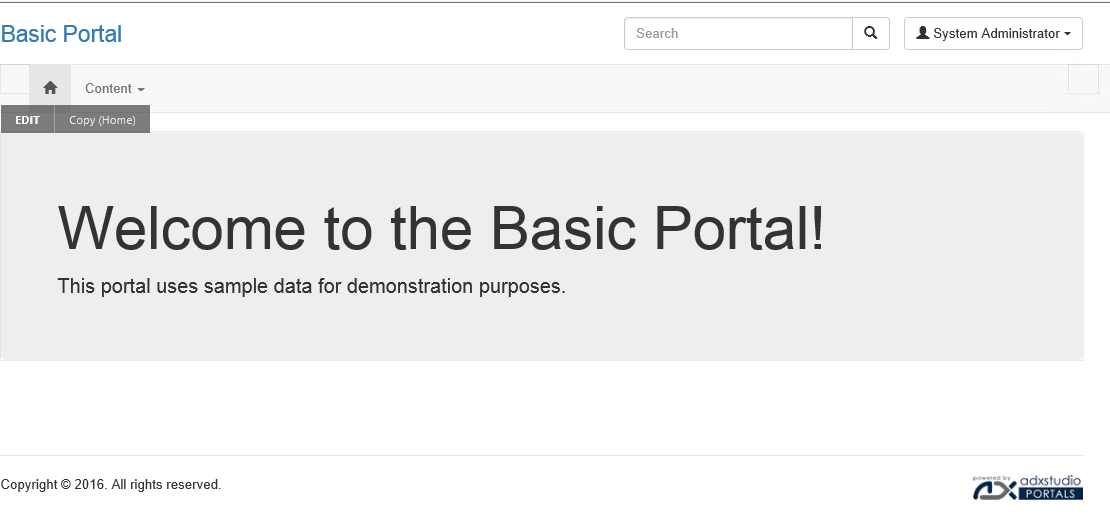
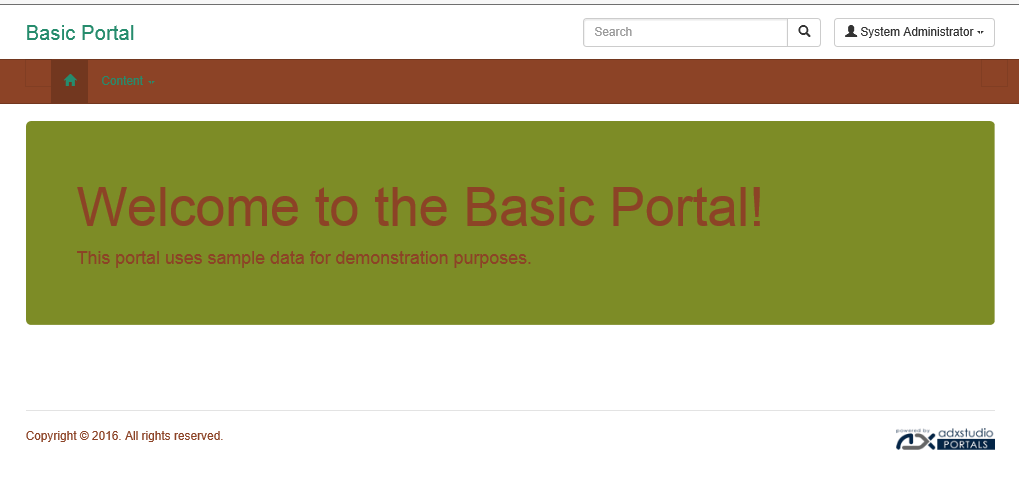
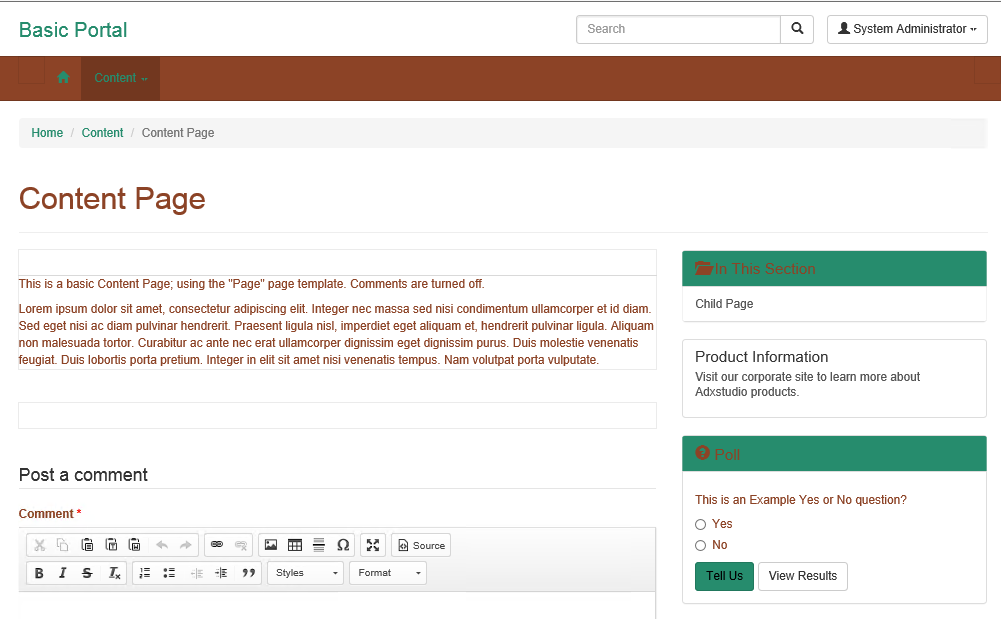
Press Save and then refresh your browser. Your new bootstrap will be applied to your site; and, because we have configured it on our home page, it will cascade automatically across our portal site:
Looks…err…interesting! I would not recommend or endorse creating a bootstrap that looks like this, but this example provides an excellent illustration of the versatility of Bootstrap.
Getting up to speed with Bootstrap may look quite daunting initially, but fortunately, there are lots of tools and resources available online that can get you running quickly with BootStrap. These tools can significantly ease your learning journey with ADXstudio/CRM Portals and also allows you to look like a website design whizz in the process 😀


