
The ability to develop a custom barcode scanning application, compatible with either a specific mobile, tablet or other device type, would traditionally be in the realm for a skilled developer to implement fully. The key benefit this brings is the ability to develop a highly tailored business application, with almost limitless potential. The major downside is, of course, the requirement for having this specific expertise within a business and sufficient time to plan, develop and test the application.
When it comes to using some of the newly introduced weapons in the Microsoft Online Services arsenal (such as Microsoft Flow, a topic which has been a recent focus on the blog), these traditional assumptions around application development can be discarded and empowering tools are provided to developers & non-developers to enable them to create highly custom business application without writing a single line of code. A perfect example of what can be achieved as a consequence has already been hinted at. With PowerApps, you have the ability to create a highly functional barcode scanning application that can perform a variety of functions - register event attendees details into a SQL database, lookup a Product stored on Dynamics 365 Customer Engagement and much, much more. The assumingly complex becomes bafflingly simplistic.
I’ve been lucky to (finally!) have a chance to play around with PowerApps and the barcode scanning control recently. What I wanted to do as part of this week’s blog post was provide a few tips on using this control, with the aim of easing anyone else’s journey when using it for the first time.
Make sure your barcode type is supported - and factor in multiple barcode types, if required
The one thing you have to get your head around fairly early on is that the barcode control can only support 1 barcode type at any given time. At the time of writing this post, the following barcode types are supported:
- Codabar
- Code 128
- Code 39
- EAN
- Interleaved 2 of 5
- UPC
Note in particular the lack of current support for QR codes, which are essentially a barcode on steroids. There are, however, plans to introduce this as an option in the very near future, so we won’t have to wait too long for this.
Be sure to RTFM
It can be easy to forget this rather forceful piece of advice, but the importance of familiarising yourself with the barcode control, its properties and some of the acknowledged limitations can go a long way towards streamlining the deployment of a workable barcode scanner app. I’ve collated together a list of the most useful articles below, which I highly encourage you to read through in their entirety:
- Create a barcode scanning app in minutes!
- Scan a barcode in Microsoft PowerApps
- Barcode scanner control (experimental) in PowerApps
Whilst PowerApps is generally quite a good tool to jump into without prerequisite knowledge, working with specific controls - such as this one - warrants a much more careful study to ensure you fully understand what is and isn’t supported. What’s also quite helpful about the articles (jumping back to barcode types for a second) is that an example is provided on how to create a drop-down control to change the type of barcode that can be scanned at runtime. Typically, for an internal app where a defined barcode type is utilised consistently, the requirement for this may not be present; but it is nice to know the option is there.
For the best success rate when scanning, ensure the barcode control occupies as much space as possible
On one of the example posts above, an example is provided of a barcode control situated atop a Gallery control with a search box. Whilst this may look appealing from a usability aspect, your main issue will be in ensuring that devices using the app can properly scan any potential barcode. For example, when testing iOS devices in this scenario, I found it literally impossible to ensure a consistent scan rate. I’ve not tested with other mobile devices to confirm the same issue occurs, but given that the issue on iOS appears to be down to a “memory issue”, I can imagine the same problem occurring for lower spec Android devices as well. Microsoft’s recommendation for optimal barcode scanning controls provides a workaround solution that can be adapted:
To delay running out of memory on devices that are running iOS, set the Height property of the Barcode control to 700 (or lower) and the Scanrate property to 30.
With this in mind, you can create a dedicated screen on your PowerApp for barcode scanning that occupies sufficient space, whilst also providing an easy to operate experience for your end users. An optimal layout example is provided below:
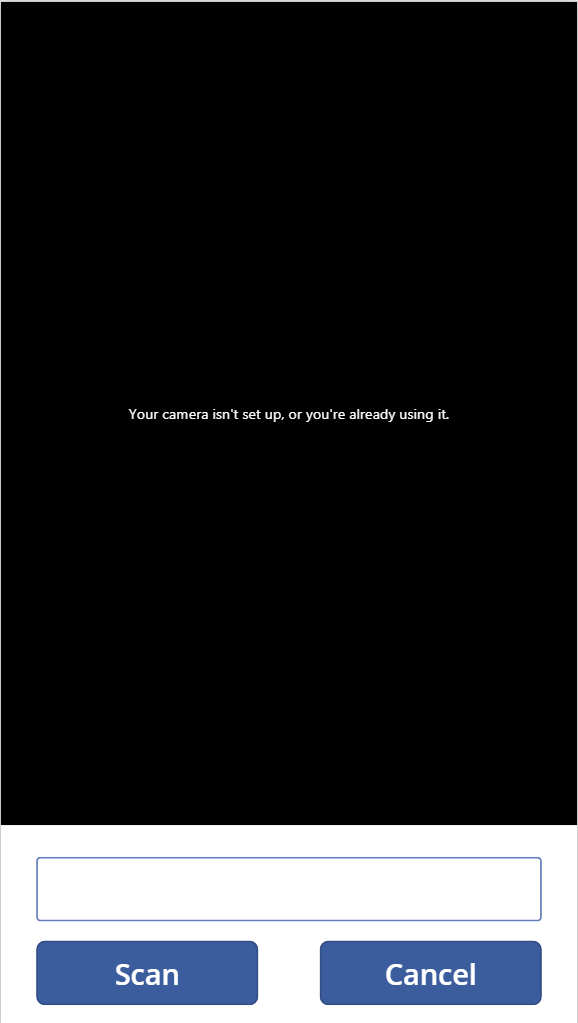
Then, with a bit of expression/formula trickery, functionality for this screen can be nicely rounded out as follows:
- Set the Default property value of the Text Input control to the name of the scanner control. This will then place the value of any scanned barcode within the input control, allowing the user to modify if necessary.
- For the Scan button, define the Back() expression for the OnSelect action. Then, set the Default property value to the Text Input control on the screen above to whatever control needs to have the value of the scanned barcode control (e.g. if working with a gallery/search box, then you would set this on the search box).
- Finally, the Cancel button needs to do the same as the Scan button, in addition to safely discarding whatever has been scanned. This can be achieved by specifying the Clear command for the control that is being passed the scanned value when the Scan button is selected. Rather handily, we can specify multiple expression/formulas for a single event via the use of a semi-colon delimiter. Therefore, to go back to the previous screen and clear the value of the Text Input control called MySearchBox, use the following expression:
- Back();MySearchBox.Clear
By having a barcode control that mimics the size indicated above, scan rates for iOS devices are improved by a significant margin and the control becomes a dream to use 🙂
And the rest…
To round things off, there are a couple of other concepts surrounding barcode controls that I thought may be useful to point out:
- The Camera property value is not documented at all for this control, but my understanding is that it provides a mechanism for specifying the device camera number/ID to use for the control. So, for example, if you have a Windows 10 tablet device and want to ensure that the front camera is used to scan barcodes for an entry registration system, you can use this option to force this. Utilising this setting, I would imagine, limits your app across multiple device types, so I would advise caution in its use. Let me know in the comments below if you have any joy using this property at all.
- By default, the Barcode detection setting is enabled. This displays a yellow box when a possible scan area is detected and also a red line to indicate when a barcode value is read successfully. This setting is designed to assist when scanning, but I have noticed it can be erratic from time to time. It can be disabled safely without reducing the scanning functionality too much; you just won’t know straight away when you have scanned something successfully.
- As the control is reliant on individual device camera privacy settings, you will need to ensure that any corporate device policies do not block the usage of the camera whilst using PowerApps and, in addition, you will need to give explicit camera access permission when launching the app for the first time. I did encounter a strange issue on iOS where the camera did not load after granting this permission. A device reboot seemed to resolve the issue.
Conclusions or Wot I Think
I am a strong believer in providing fast and effective resolution of any potential business requirement or concern. Typically, those working within an IT department will not be directly responsible for generating revenue or value for the business beyond IT support. This is what makes an attack-focused, proactive and value generating outlook an essential requirement, in my view, to anyone working in an IT-focused role. In tandem with this approach, having the tools at your disposal that will aid you in adhering to these tenents are ones that should be adopted readily and, after prudent assessment (i.e. balanced and not time costly), without fear. PowerApps, and the use cases hinted towards within this post, scores very highly on my list of essential tools in fostering this approach. It really ensures that typical “Power” users within an organisation can develop quick and easy solutions, with lack of previous experience not necessarily being a burden. In my own case, having had a firm background using Microsoft stack solutions in the past meant that my initial journey with PowerApps was that much easier. Ultimately, I think, PowerApps aims to save time and reduce the business concerns that arise from bloated software deployments, putting a much more business-focused onus on individuals to develop valuable solutions within a particular department or organisation.